How to Start Sweet Peas from Seed
Discover the joy of cultivating sweet peas from seed with our concise guide. Choose top varieties, learn essential starting tips, and follow easy steps for successful planting and care.
How to Start Sweet Peas from Seed
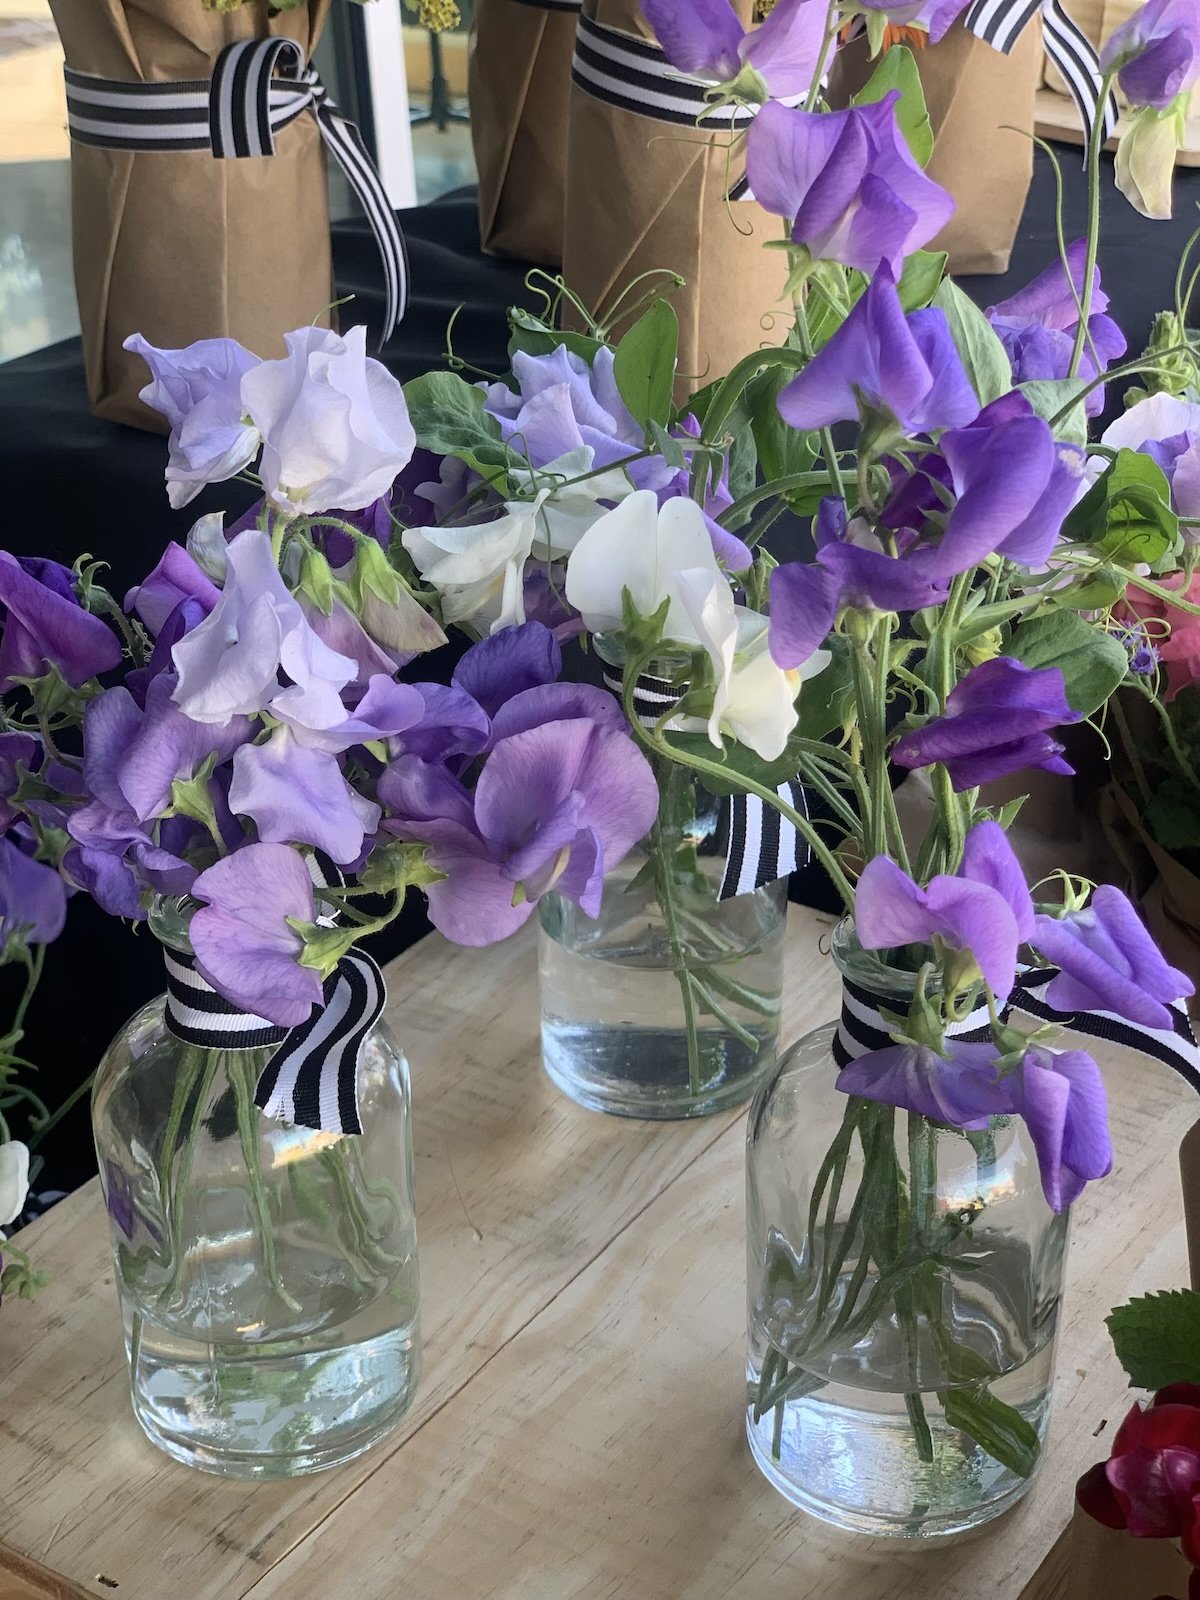
Sweet peas are beautiful and incredibly fragrant flowers that are pretty easy to grow from seed. They come in a wide variety of colors, which makes them even more fun! If you're interested in growing sweet peas, starting them from seed, this blog post is for you.
The first decision you have to make is what type of seeds are you going to grow. This is the fun part! There are several great seed places to source great seed stock. We love sourcing sweet pea seeds from Renee’s Garden, Botanical Interests and Farmer Bailey the most, but there are many other places you can find great seeds to start with. All of these can be ordered online, or found at your local garden center. The trouble with selecting seeds is narrowing down the list of which ones you love the most. If you’re like us, you’ll want to grow ALL the colors.
Varieties We Grow
A few varieties we usually grow year after year are the Elegance series, which are great for cut flowers. We also love growing Blue Celeste, Royal Wedding, and Blue Celeste (from Renee’s). This year, we’re growing Rose Elegance, Charlie’s Angel, Frances Kate, and High Fragrance Mix. We picked these colors out specifically for weddings we’re providing flowers for in late May and into Mid-June for a fun treat for our brides.
Once you have your seed varieties selected and seed packets in hand, it’s now time to think about starting them. If you read the seed packet, most say to start them 4-5 weeks before last frost, which is absolutely fine, but what we’ve found is that starting them that late doesn’t give us a ton of time to enjoy these blooms before our summer heat sets in and kills them off. With this in mind, we start our seeds in late January in order to have them planted outside by March 1st.
We’re located in zone 5b, Central Iowa for those of you wondering. It does get very cold during the winter months, but read on, we’ll address how to transition and plant them outside despite cold conditions, below, but first we need to talk about how to start these seeds to get them going.
Soak Your Seeds
Before you plant your sweet pea seeds in seed starting medium, you’ll need to soak them overnight in water. This will help to soften the hard outer seed coat and encourage germination. To do this, place your seeds in a bowl of water and let them soak for 12 to 24 hours.
Drain off all of the water from your seeds, using a strainer. and transition your seeds into a peat pot, recycled yogurt containers, old milk jugs, or a seed starting tray, filled with seed starting medium, which you can find at your local garden center. We like to use a 72 cell tray to start our seeds, because we generally start about this number of sweet peas each season.
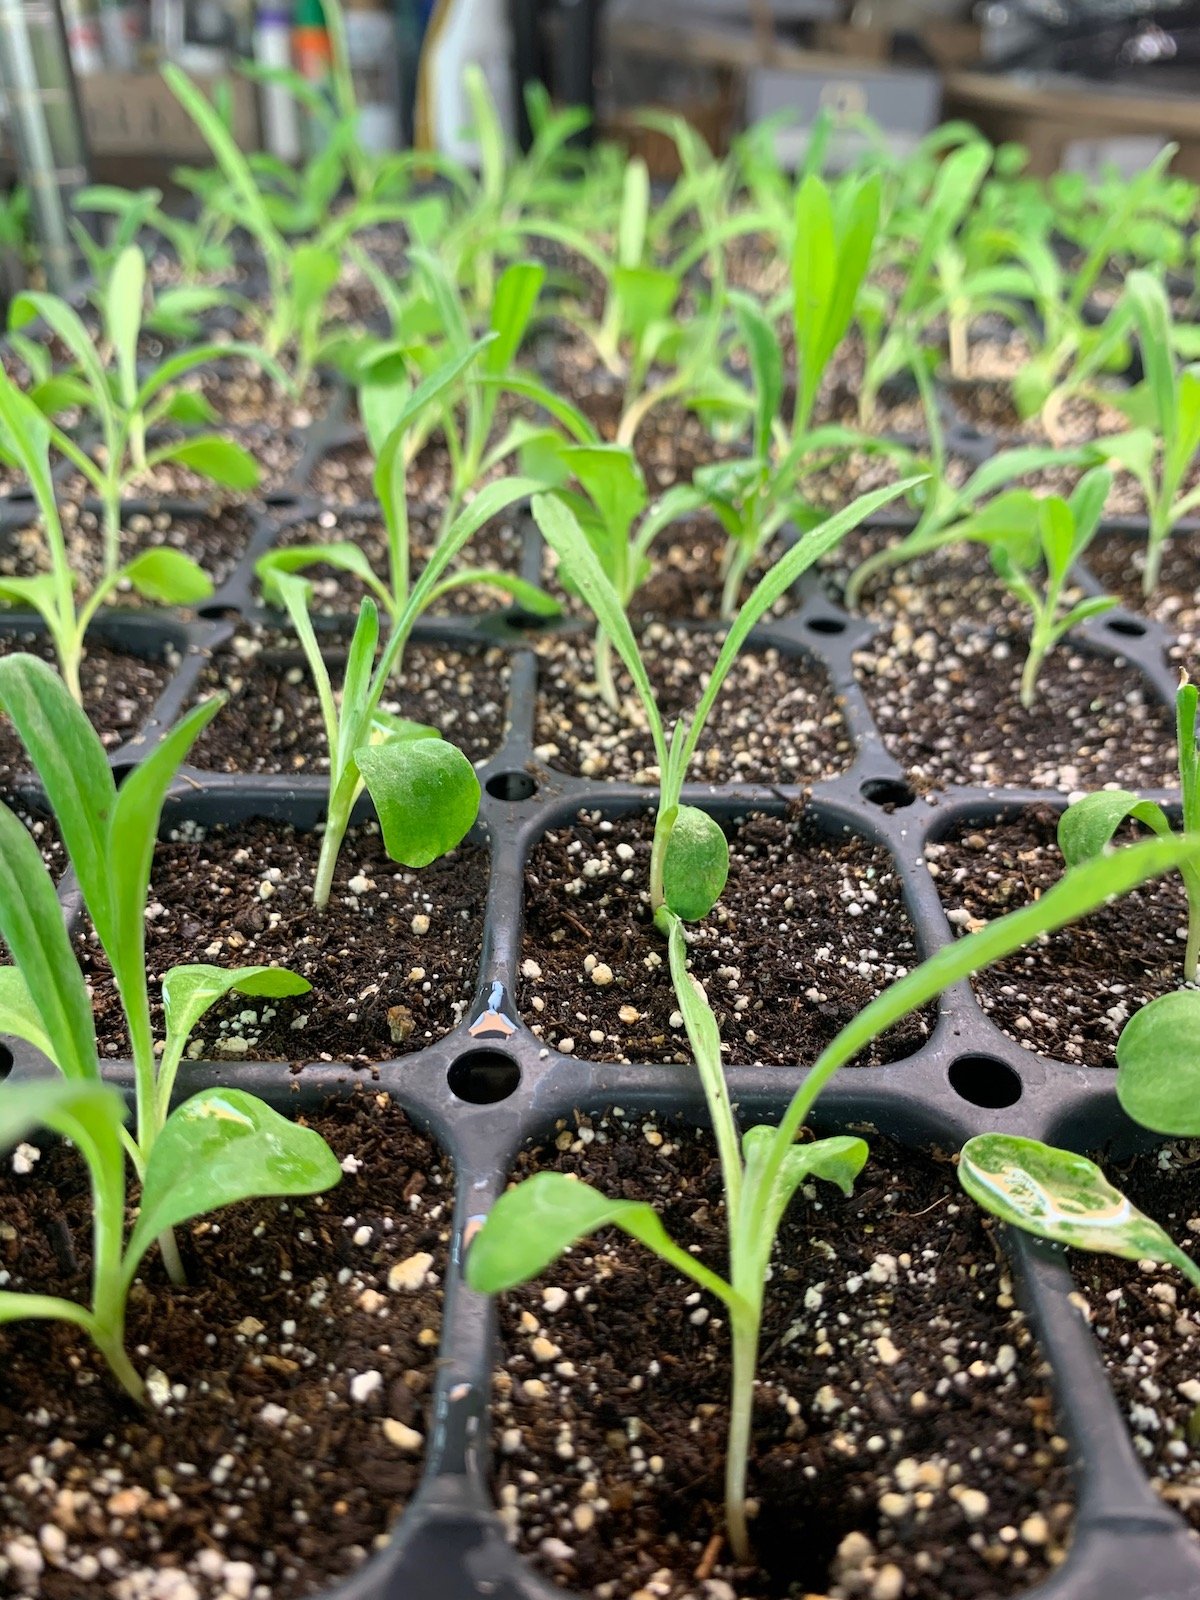
Before placing seeds in the growing medium, make sure the medium is moist, but not soaking wet. Place your seeds on top of the seed starting medium and after all are set in place, push each of them 1/2” into the seed starting medium and cover. From here, place them in an area that has light exposure, but not direct sunlight. We like to pick a cooler, spot for them to germinate with temps around 60 degrees F. If kept at this consistent temperature, plants should emerge in 7-12 days.
We’re often questioned about why ‘pinching’ is necessary for sweet peas. It’s really important, because it helps your seedlings become stronger plants and it also helps promote branching (new growth) on the plant, which makes them even stronger before they go into the ground. They need to be pretty tough and well established before they can be transitioned out and planted in the ground.
Pinching Sweet Peas
Once your little seedlings have reached 6-8” tall and have formed at least 4 sets of leaves, plan on ‘pinching’ the top growth off of your little seedlings, leaving at least 4 sets of leaves on the plant. You can use your fingers to pinch off this growth, or you can use a pair of floral snips.
Why Pinch?
We’re often questioned about why ‘pinching’ is necessary for sweet peas. It’s really important, because it helps your seedlings become stronger plants and it also helps promote branching (new growth) on the plant, which makes them even stronger before they go into the ground. They need to be pretty tough and well established before they can be transitioned out and planted in the ground.
It’s almost time to plant your seedlings outside! We plant ours outside on March 1st, which we addressed above, now we’ll get to how we do this. Before we get to planting them, we’ll talk about the ‘hardening off’ process.
Hardening off is the process of transitioning your plants outside to prepare them to be planted. This process is necessary to toughen your seedlings to the elements of growing outside, such as directl sunlight and wind. After seedlings have been growing inside, in a controlled environment, they’re a little fragile. In order to transition them out to harden them off, bring them outside for an hour the first day to start, keeping them in a protected area out of direct sun and high winds.
From this point going forward, you’ll bring them outside each subsequent day for a longer period of time until you run you hand over the top of the plants and feel that they are stiff and strong, which is where the name hardening off comes from. Once you’re achieved this, your little seedlings are ready to be planted outside!
Your sweet peas are ready to plant, so not it’s time to prepare your planting area. Sweet peas prefer well-draining soil with plenty of organic matter. Choose a spot in your garden that gets plenty of sunlight, but with ample afternoon shade to keep them from overheating and prepare the soil by adding compost or other organic matter.
After your growing area has been prepared, add a small garden trellis in the middle of your planting area and plant your seedlings on either side, about six inches apart. Keep in mind that once your sweet pea plants have reached 12” of growth, begin to train them to grow up the trellis, by adding twine and plant stakes, gently weaving the vines around the twine.
Since we plant our sweet peas in the ground on March 1st, we give them a little frost cover protection with agribon to cover them during temps well before freezing, uncovering them during the day and for times when the temperature is at/above 32 degrees F.
Sweet peas need regular watering and fertilization to grow strong and healthy. Water them regularly, but be careful not to overwater as this can cause the seeds to rot. Fertilize your sweet peas with a balanced fertilizer once a month.
If you need this information in a bit different format, check out our YouTube video on How to Start Sweet Peas from Seed. Additionally, in the video description box, you can find links to all of the tools we use to grow sweet peas.
Sweet peas typically bloom in the spring and early summer. For us, they boom May through the end of June. We hope y’all enjoy the beautiful colors and fragrances of your sweet pea blooms and find a place to squeeze them into your garden year after year!
XX Jenn and Adam
Creating a Cutting Garden on a Budget
Create a budget-friendly cutting garden by choosing enduring flowers like zinnias and sunflowers, opting for cost-effective seeds, and exploring free alternatives for compost and mulch. Reuse old containers, and consider planting multi-functional blooms like lavender and herbs for added value. Embrace resourcefulness and creativity to cultivate a stunning cutting garden that brings joy all season long. Happy gardening!
Having a cutting garden allows you to enjoy a constant source of fresh cut flowers for your home, to use in arrangements for special occasions, or to gift to friends and loved ones to sprinkle a little joy into their lives. But starting a cutting garden can be a little intimidating, especially if you are on a tight budget. Here are some tips we’d like to share for creating a cutting garden for seasonal blooms that will help to not break the bank.
The first thing to think about is to choose flowers that are both easy to grow AND have a long vase life. Some good examples of flowers that fit both of these catagories include zinnias, sunflowers, celosia, cosmos, and rudbeckia. These flowers are not only beautiful, but they are also fairly easy to grow and generally have a long vase life. They’re some of our favs!
Attempt to start your flowers from seeds rather than buying already grown plants. Seeds are usually much cheaper than plants. With a little patience and care, you can grow a wide variety of flowers from seed. Just make sure to choose high-quality seeds from a good source. If you need seed starting tips, we have some great videos for several different seeds on our YouTube channel you can access here. Not only do we provide seed starting tips, but if you check the detail section, we provide sources for all of the seed starting supplies we use.
Utilize free or low-cost resources. Instead of purchasing compost or mulch, consider using free or low-cost alternatives, such as leaves, grass clippings, or wood chips from a local tree service. Also, consider checking with your local nursery, gardening club, or online plant swap/trade/giveaway sites for any seeds or division plants they may have available to share.
Reuse and recycle. Instead of buying new pots or containers, consider using recycled containers or items you already have on hand, such as old buckets, milk jugs or pots. You can also reuse old pots by sterilizing them and adding fresh soil. Some of our trays have been reused for over 11 years and are still going strong. Reduce and reuse whenever possible!
PepperHarrow Seeds
Our seeds from the farm generally are offered online in early January through the end of February each year. Included are customer favorites: Chester Copperpot, Starlight celosia and our Butterfly Garden Seed Kits.
Consider planting flowers that have multiple uses. Some flowers, such as lavender, not only look beautiful in arrangements, but they also have other uses such as drying, cooking, crafting, or flowers that are good for pollinators. Looking for flowers that cross all of these categories can help you get more value out of your cutting garden. Our favorite flowers for multiple uses include: lavender, sunflowers, strawflower, herbs, and pennycress. These may not hit each category, but we at least like to pick flowers that at least hit two different uses.
We hope that this has given you a few small tips to save a little money starting your very own cutting garden. By following tips, you can create a beautiful cutting garden without breaking the bank and you’ll have flowers to enjoy all season long. Happy gardening!
XX Jenn and Adam
Starting A Flower Farm in 2023
Embark on the rewarding journey of starting a flower farm in 2023 with these key steps: research the local market, create a comprehensive business plan, choose a strategic growing location, invest wisely in supplies, and start growing with care. Explore selling avenues like Facebook Marketplace and farmers markets, prioritizing visual presentation. Turn your passion into a successful business venture. Happy farming!
Starting a flower farm can be rewarding and fulfilling for those who love working with plants and flowers. We say it’s like living out our dream every day, no matter how hard it might be. However, before you begin your journey, we want to recognize that it’s important to do your research and plan out your path before diving in. In our recent book, Small Farm Big Dreams, we wrote about how to start a flower farm, but we want to follow up a give you a few more tips. Here are some steps we’d like to share to help you become a successful flower farmer in 2023!
Step #1 Research the market: Take some time to research the demand for flowers in your area and determine what types of flowers are most popular. You'll also want to consider what types of flowers grow well in your local climate and soil conditions. Is there a niche/gap in the market of something that’s not currently being offered where you could meet a customer need?
A Few Research Recommendations: Try to grow a few flowers of your own if you have not done so in the past. Scope out other local flower farmers and florists to see what their demand looks like, observe color combinations of flowers they put together. Buy a bouquet and attempt to do a price breakdown for each stem.
Step #2 Create a business plan: Once you have a pretty good feel on your local market, where your potential is for sales, etc., and what types of flowers you'll be growing, it's time to create a business plan. Your business plan should include details about your target audience, pricing, marketing strategies, and financial projections. Creating a business plan is NOT a bible, but it’s a great guide to help keep yourself on track during the start up process of your flower farming operation. It’s also a great tool to use for funding purposes, if you’re looking to secure money through a loan from a bank, small business loan, or other outside funding mechanisms.
Business Plan Tips: There are a lot of resources out there to help with this, including your local Small Business Administration. Tap into as many resources as you can. They are there to help! Here’s a quick link to US SBA, here. This link will help you get to local resources.
Step #3 Choose a flower bed location on your property and plan the layout: Selecting the right location for your flowers is crucial. Consider factors like access to water, sunlight, and infrastructure when choosing a site that would work best for growing flowers. We highly recommend taking a year to observe your property and see where possible locations for your flower garden/field might be. You'll also want to research any zoning regulations or permits that may be required to operate a flower farm in your area. These requirements vary for each state, city, and county.
Recommendation for selecting a growing area: our farm is not flat, but we use the slight slope to our benefit, because it does help with water drainage. It’s nice to find a nice flat spot for your flower fields, but it’s not a requirement. Almost always, you have to use what you have access to. If the area you’re looking at is too flat, we highly recommend hilling whenever possible to help with any potential water drainage issues that may arise with growing on a flat area, especially if you observe standing water during heavy rains.
Step #4 Purchase supplies and equipment: You'll need to invest in a variety of supplies and equipment to get your flower farm up and running. This list of items includes necessary items like seeds, pots, soil, landscape fabric (to grow flowers in) watering systems, and other tools (rakes, shovels, etc).
Pro-Tip: Start small with your up front investments. If you can getaway in year 1&2 with smaller investments, such as a tiller instead of a tractor, this will help make sure you can be scalable. Bottom line is that you don’t have to have all the fancy tools to be able to ‘make it’ as a flower farmer. There’s something to be said about bootstrapping and making what you have work for a temporary basis.
Step #5 Start growing: Once you have all the necessary supplies and equipment, it's time to start planting and caring for your flowers. This will require consistent watering, fertilizing, wedding, and deadheading to ensure that your flowers are healthy and productive.
Recommendations for growing flowers: Most of our flowers are planted in landscaping fabric with 9” between each plant. There are very few flowers we do not plant in fabric, but some that we sometimes think about not putting in fabric are: sunflowers and zinnias. Oftentimes we see that once our seedlings are established after translating, roughly 3 weeks in the ground, we are able to decrease our watering cycle depending on the weather.
Step #6 Sell your flowers: There are many different ways to sell the flowers you grow on your farm. We highly recommend having a place to sell your flowers before you grow them, which starts in step #1 and step #2 above. However, many new flower farmers we’ve had the opportunity to chat with have used their first years of growing flowers to simply give them away for others to enjoy, while they learn the ins and outs of growing and consistently having blooms. A few options for selling your flowers include: posting them in Facebook Marketplace, selling directly to florists. farmers markets, or setting up a retail space on your property where customers can purchase bouquets and arrangements directly from you.
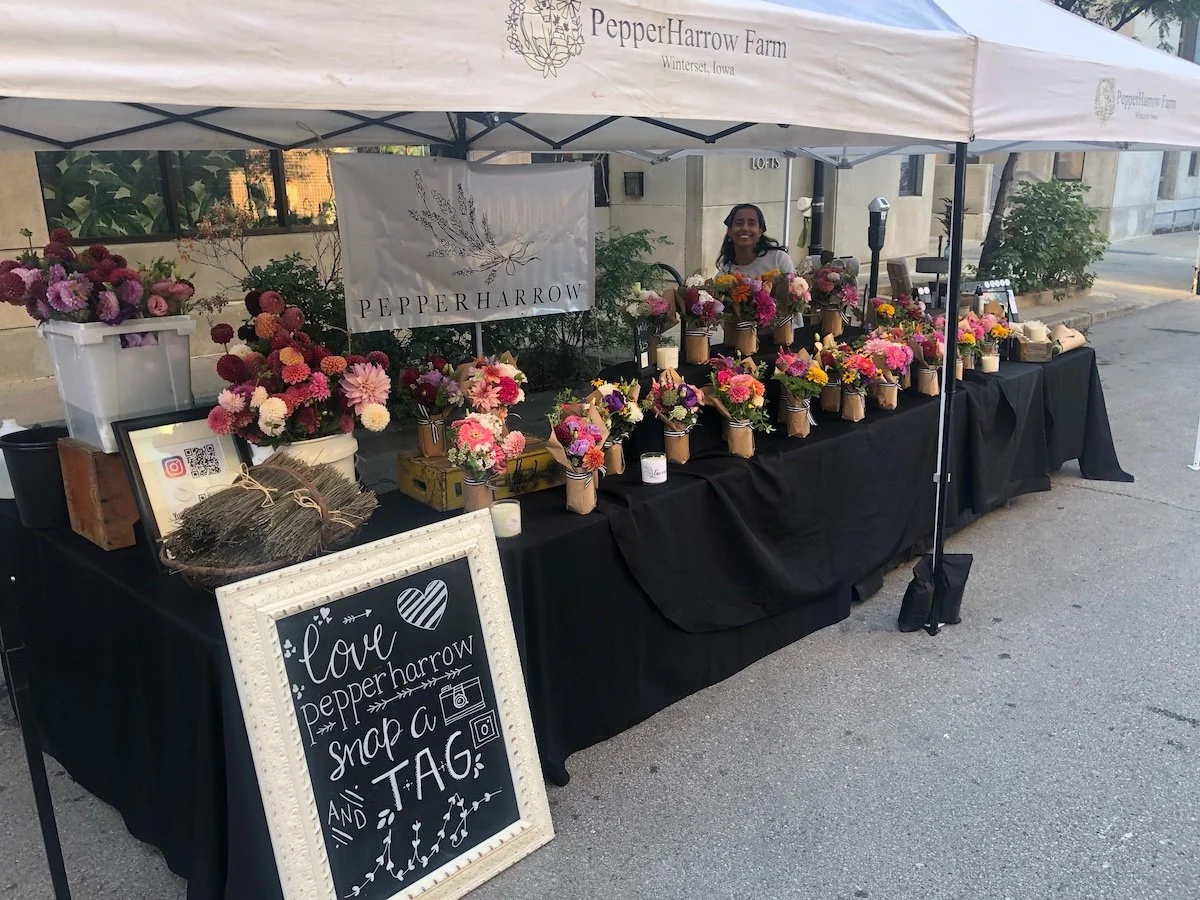
Recommendations: Try different ways out and see what works for you. Customers really nice presentation, so be sure to make the presentation to your flowers visually pleasing. Below is our Farmer’s Market stand. We like a white tent because it’s light and you can see the flowers without a tint. The black table cloths makes the flowers standout and we love how we present our bouquets in wrapped jars. You can access our e-course on how we do this wrapping process here.
Starting a flower farm can be a challenging but rewarding opportunity. We hope that by following these steps and taking note of some of our suggestions that you can turn your passion for growing flowers into a successful business in 2023!
XX Jenn and Adam
Bouquet Inspiration for Your Cutting Garden
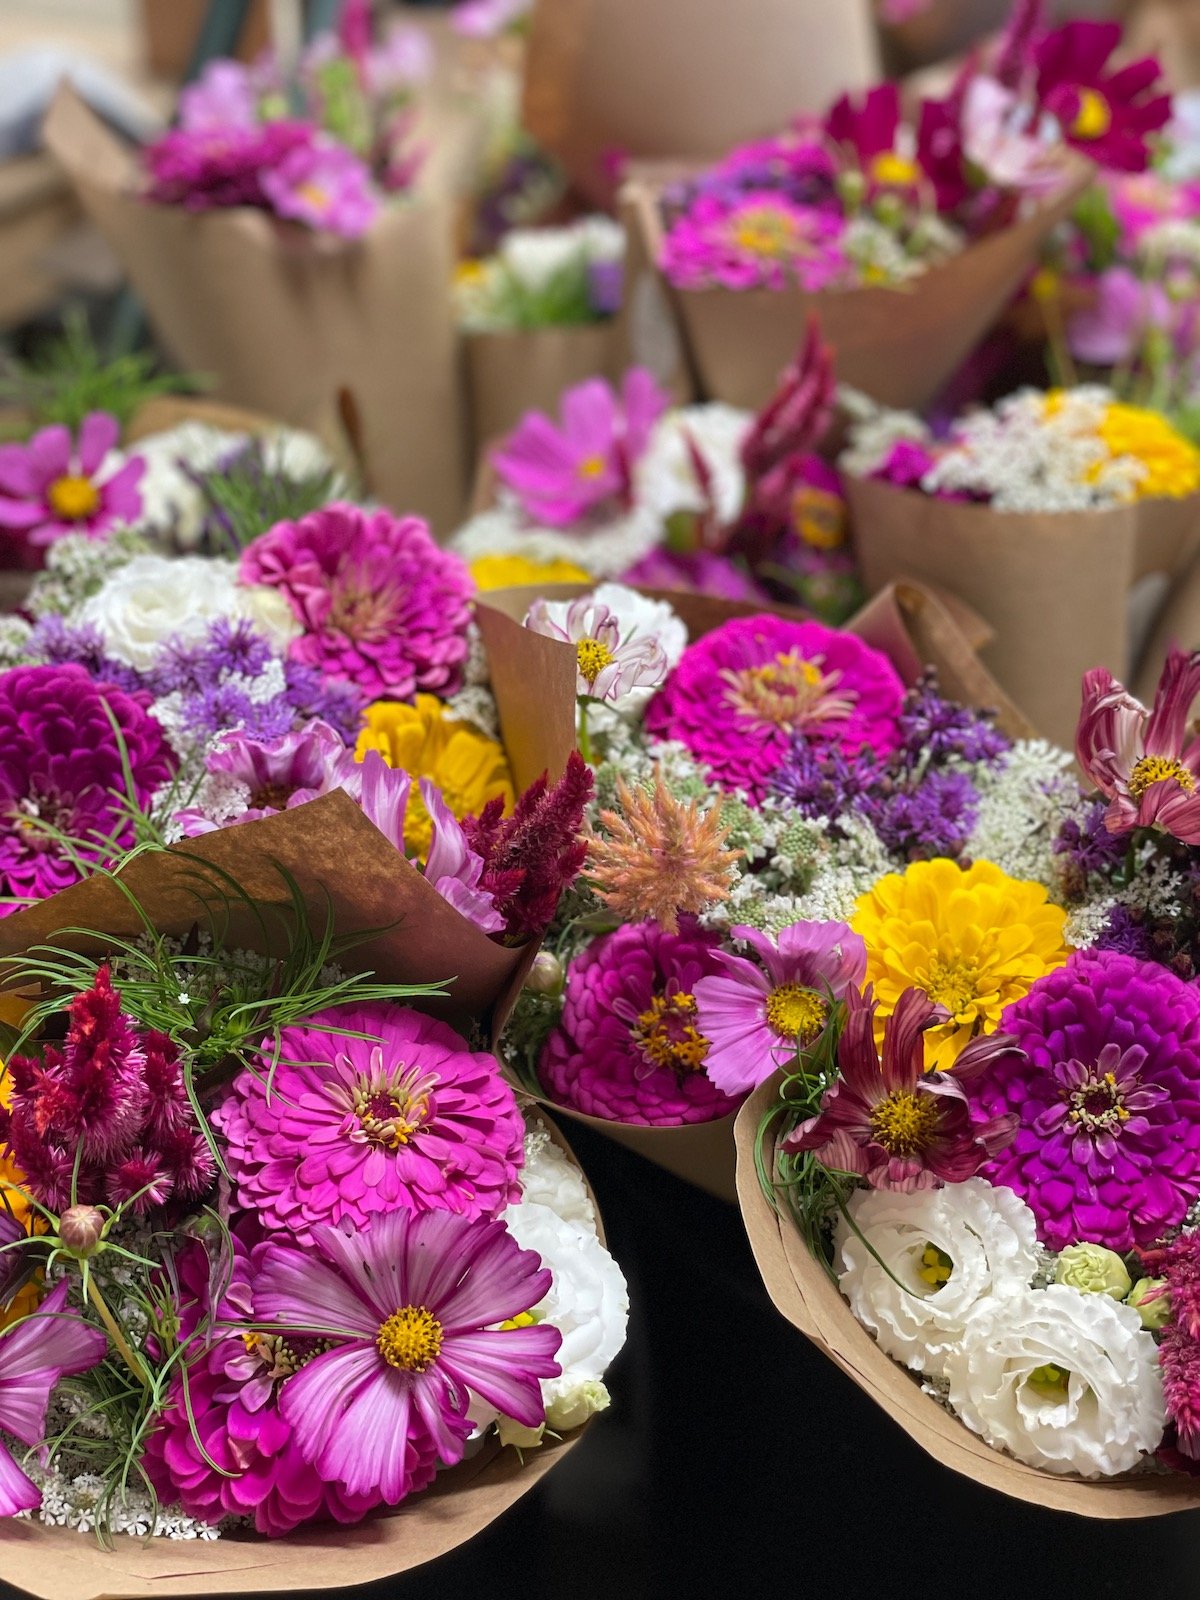
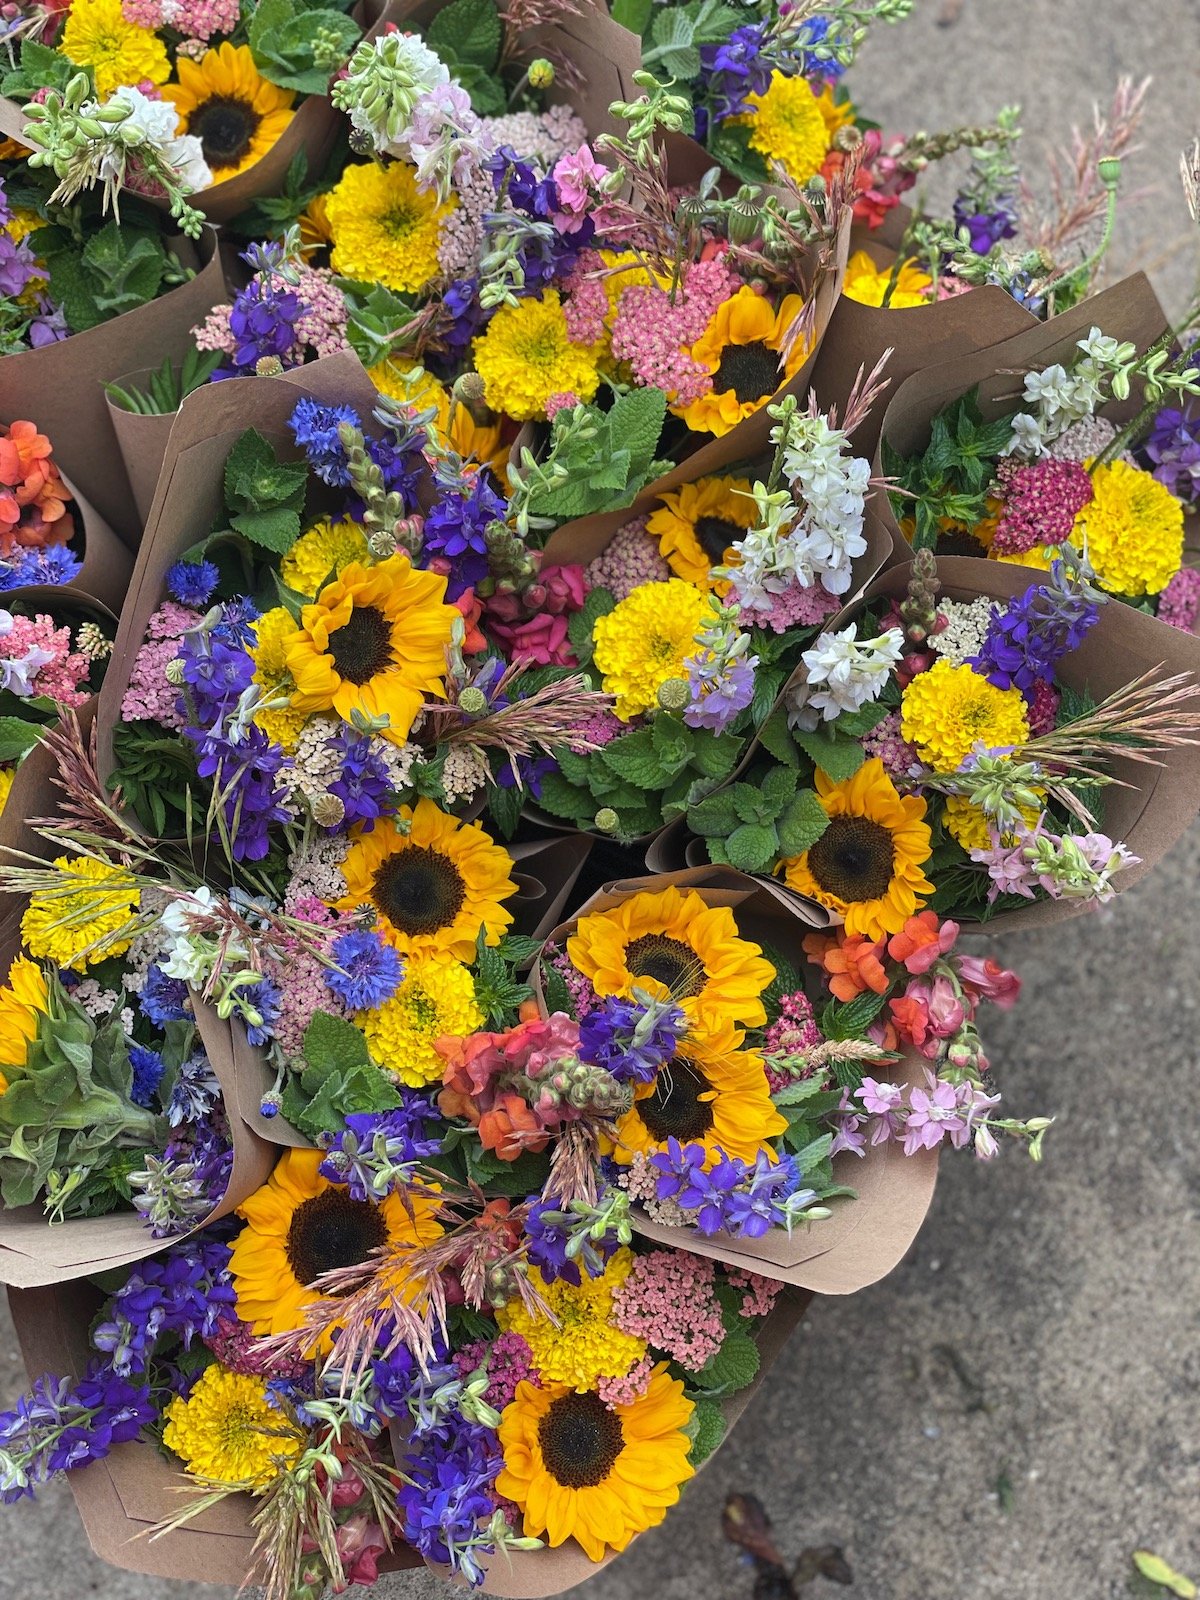
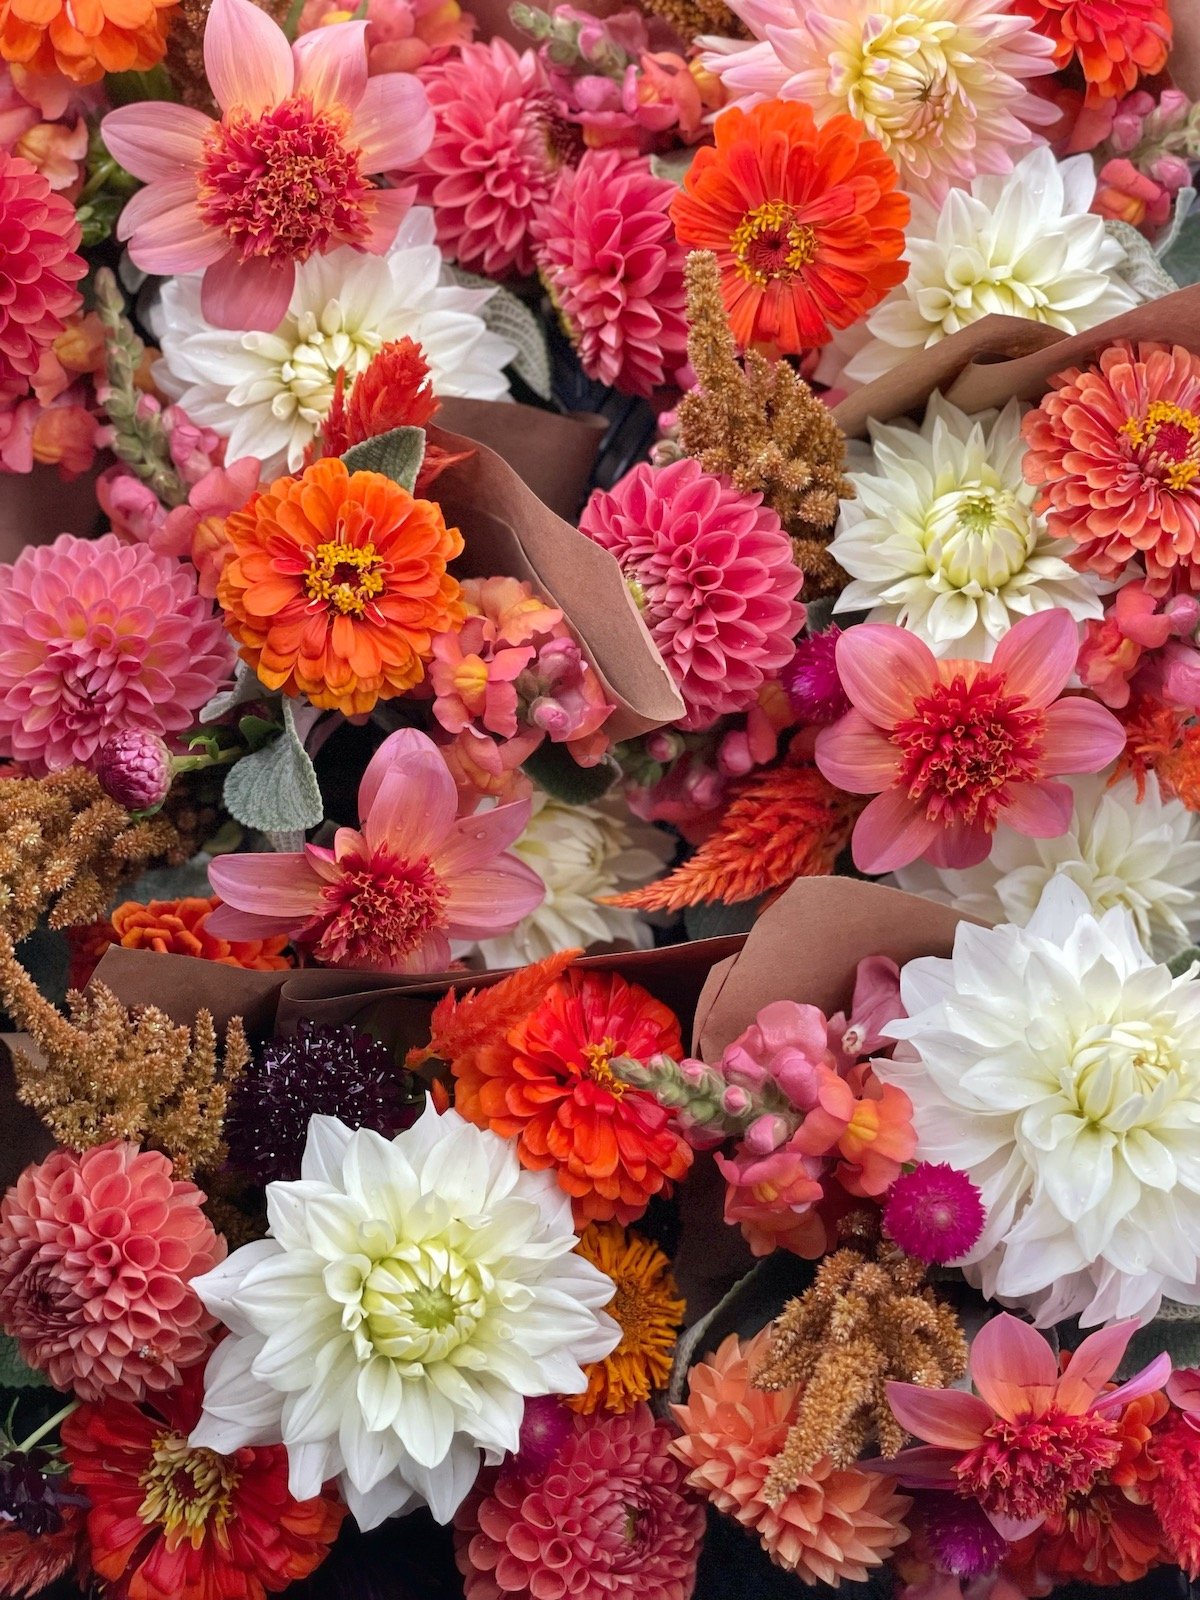
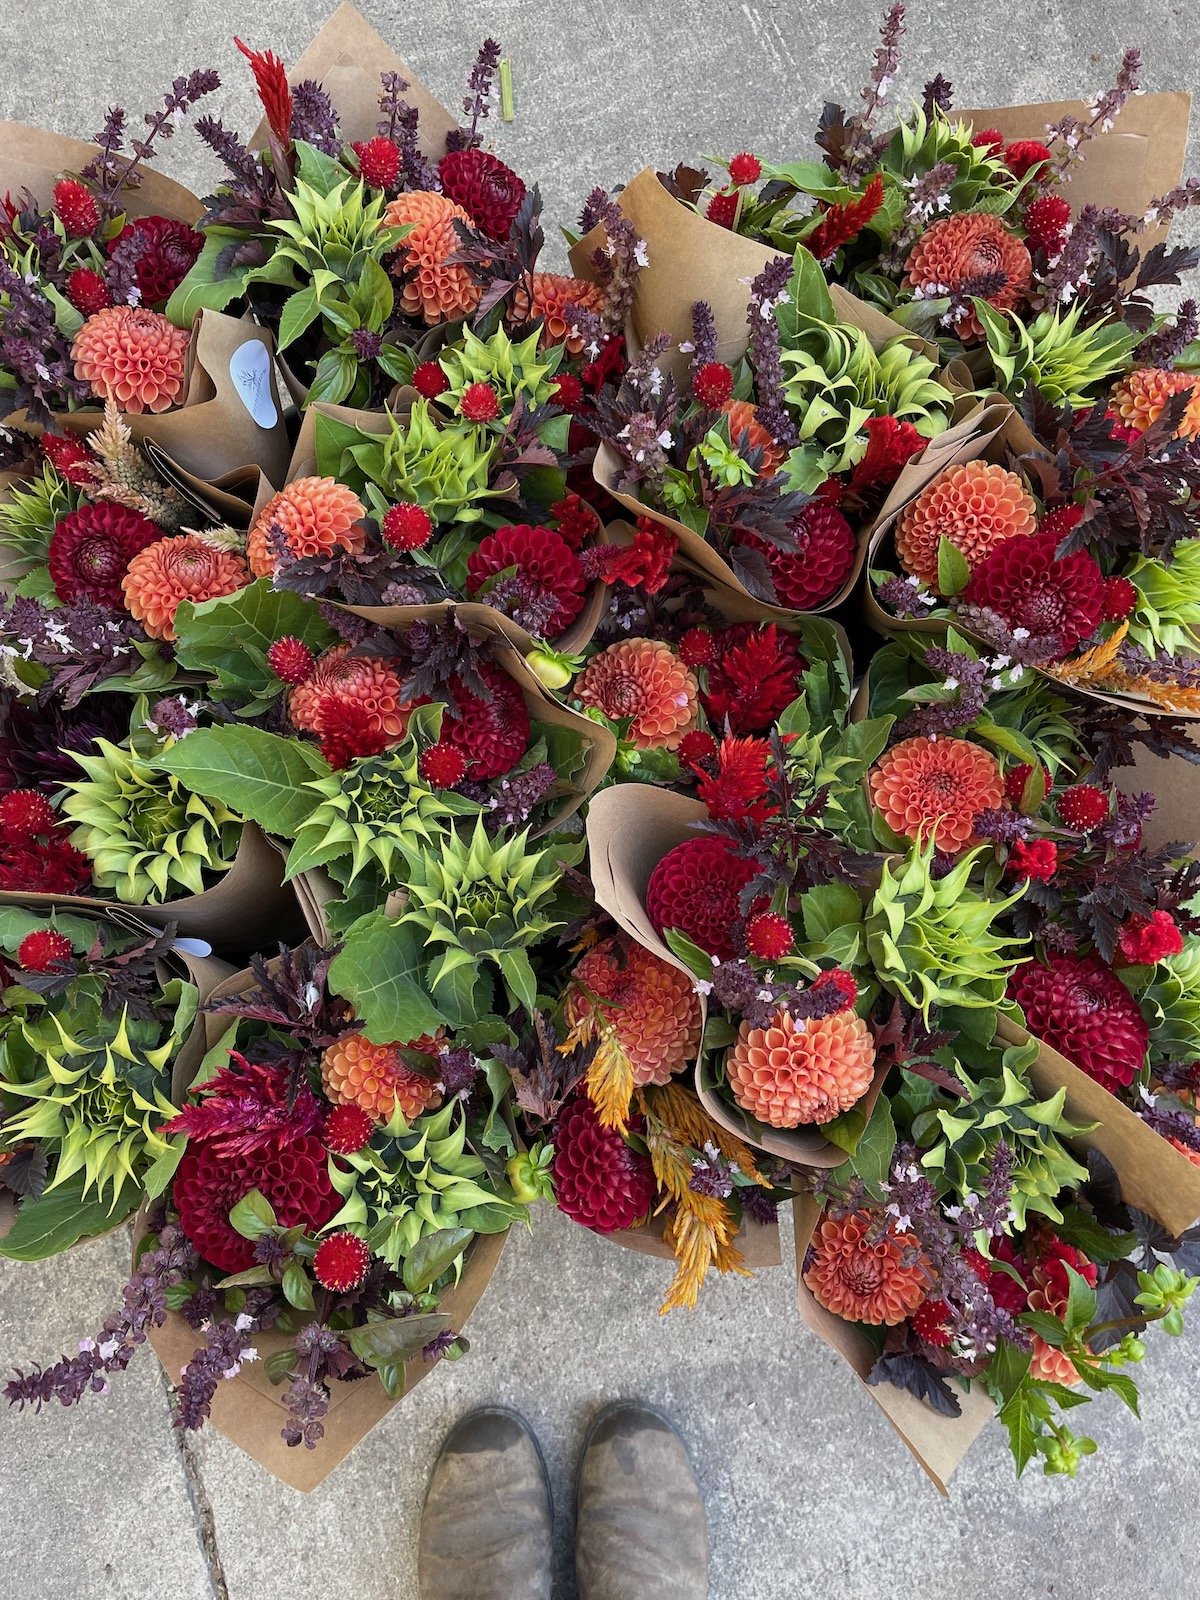
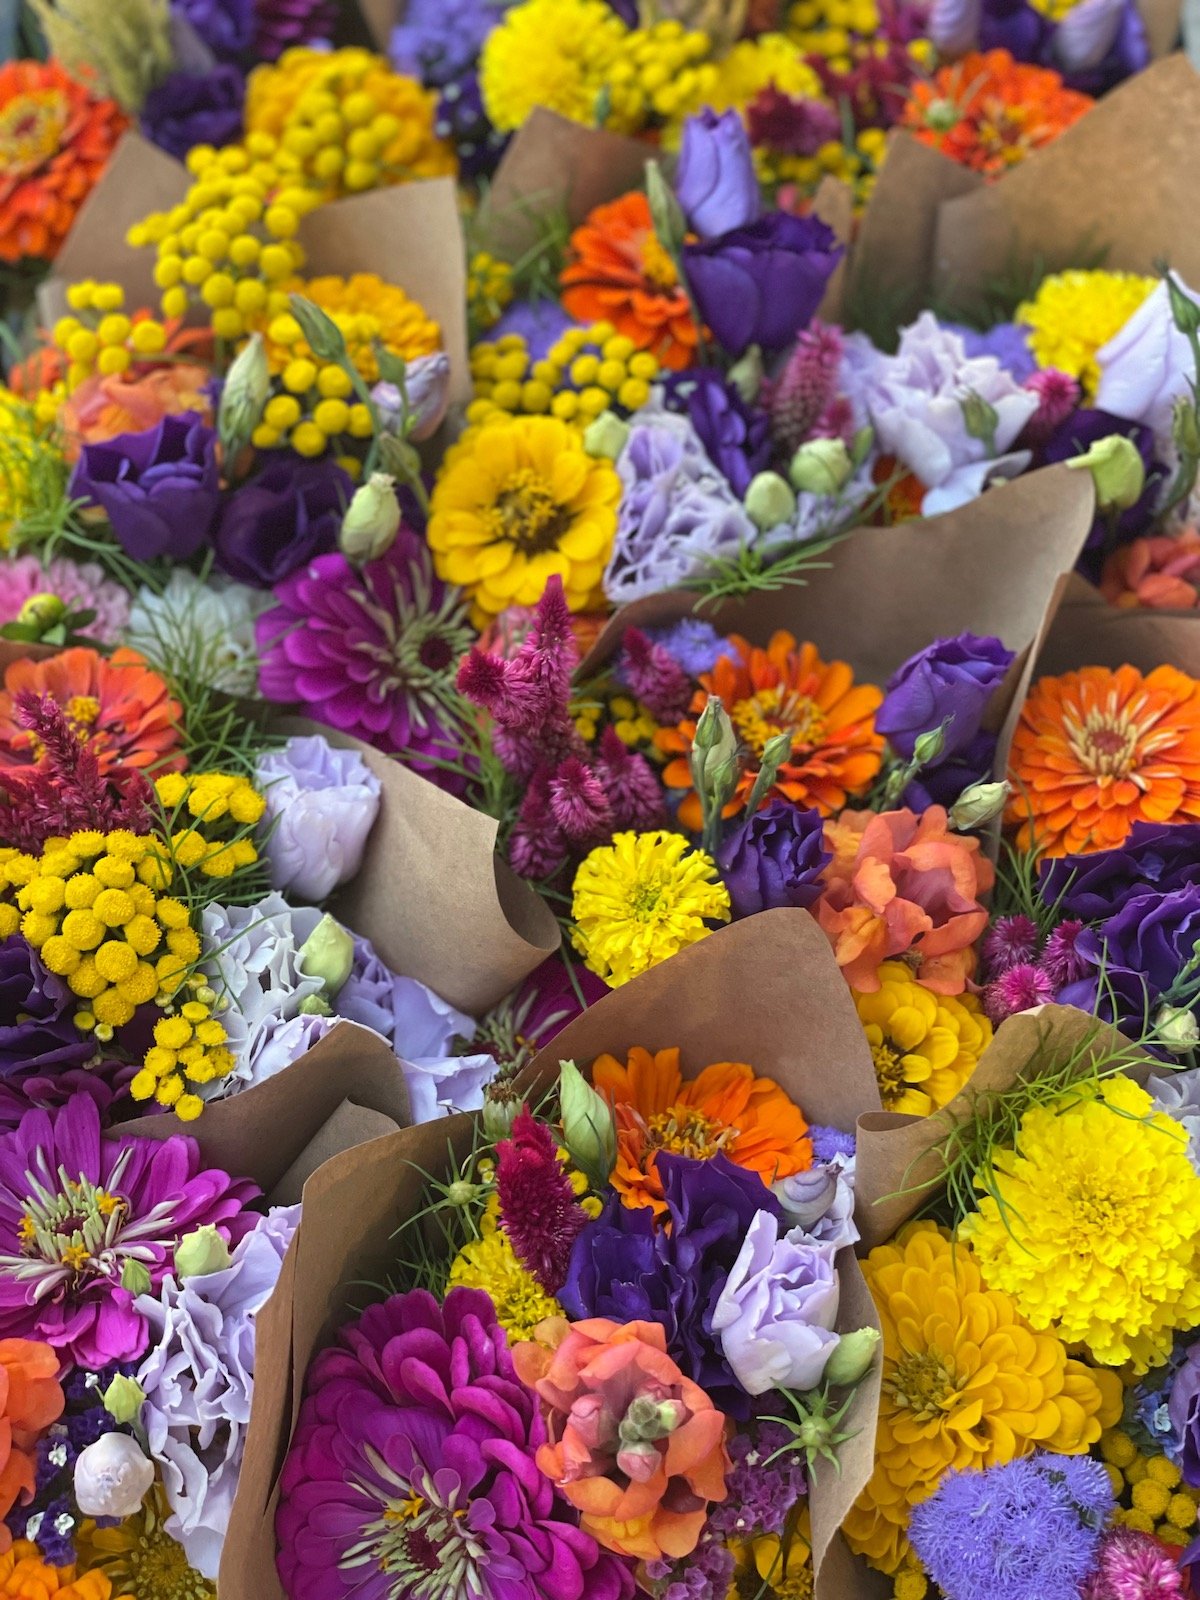
As we dive into the detailed planning of our cut flower beds for the upcoming 2023 growing season in Central Iowa (zone 5), we find immense value in reflecting on past bouquets. Looking back, we pinpoint our favorite flower combinations by season, helping us recreate the magic in the coming months. For those just starting, we're excited to share our cherished cut flower bouquet combinations, offering inspiration for beautiful floral pairings or sparking ideas for new blooms to cultivate. Let's plant the seeds of creativity together!
We’re in the midst of large-scale planning our cut flower beds for the 2023 growing season here in Central Iowa, zone 5 As we work on our plan, we always find it useful to look back at our bouquets by season to understand flower combinations we LOVED to make sure we can have those flowers all blooming around the same time to recreate the recipe we used. No need to recreate the wheel, right?!
For someone who might just be starting out, we thought it would be great to share our favorite cut flower bouquet combinations to help inspire possible combinations of flowers to use together, or to even ‘plant a seed’ for some new flowers you might want to try to grow.
Here’s a few of the flower bouquet combinations we LOVE!
Creating a Dried Flower Wall
In 2022, we brought the beauty of dried flowers to life with a mesmerizing Gomphrena wall at PepperHarrow Farm in Central Iowa. Guests marveled at the unique Audray Bicolor Rose variety, capturing attention with its vivid color and distinctive globe blooms. From easy cultivation to efficient harvesting and drying, discover our step-by-step guide to recreate this enchanting installation using cost-effective jute rope. Join us in the world of Gomphrena, and let your creativity bloom! 🌸✨ #DriedFlowers #Gomphrena #FloralInspiration
Dried flowers have increased in popularity over the last several several years and the next few years promise to be no different.
Recognizing the growing trend of dried flowers across the globe, in 2022, we grew several flower varieties simply to set aside to dry in order to create several new dried floral installations on the farm, including a stunning dried flower wall in our new event barn.
The dried flower wall was an instant hit with guests visiting the farm. Guests would use the dried flower wall to take photos for a selfie opportunity, simply were inspired and enjoyed the beauty of it, and often asked and were inspired to attempt to dry flowers on their own. The wall was a conversation starter that grabbed the attention with anyone visiting!
So what flowers did we dry to create this beautiful installation? There are many different types of flowers that we LOVE for drying, which we’ll cover in a different post, but our most favorite flower for drying is Gomphrena (Globe Amaranth). These beautiful flowers are true to name and have little globe blooms on top of long, tall stems. Not only is their color extremely vivid, fresh or dried, but their unique shape and texture makes them a fun, tactile flower to dry. People cannot help themselves from reaching out to touch these beautiful blooms and often remark that they cannot believe they’re real. Fresh or dried, they look the same color either way. Just incredible!
The variety of Gomphrena we chose for our dried flower wall is called Audray Bicolor Rose. This unique shade of pink has a muted tone that isn’t too bright and bold for our muted space. The color looks perfect against our white board and batten wall in our event space. The perfect pop of color!
Growing, Bundling & Drying Gomphrena
In the garden
Growing Gomphrena is pretty easy to grow, starting from seed. It’s one of the easier annuals we grow each year at the farm.
To start, we plant 10 trays of 72 cells of plants, then we plant them out in a 100’ row. We planted this amount to really make the huge visual impact we were looking for with our dried flower wall.
Planting in rows is an efficient way to help plant, manage, maintain, and harvest these flowers for our production purposes.
Harvest
Gomphrena is harvested out of the cut flower garden at the peak of the bloom, meaning that we wait until the bloom has reached a mature stage in the bloom cycle, but not too far gone where it would begin to drop their seed.
Once the Gomphrena is harvested from the garden, we remove all of the foliage from the blooms and make bundles of about 40 stems of these flowers, keeping all of the blooms at the same length. Once they are in the bundle together, we use a stem chopper to cut the bottom of the stems to make them the same length for a clean look. From there, we take a rubber band and put it around the bundle to keep them in place and use a paperclip to hang the bundle from the waxed jute on the wall.
The bundles of Gomphrena take about 2 weeks to dry, but this will be dependent on the temperature of the space you have them drying. It’s important to have good airflow (we ran a fan in front of them), and to keep your flowers out of direct sunlight. The direct sun can fade the color on your flowers quite quickly. Typically the warmer and drier your space is, the quicker your flowers will dry. Cool and moist conditions will take a bit longer to dry your flowers.
How to Make a Dried Flower Wall
The flower wall was started initially with thin metal chain link, but after we finished out two of the rows we were planning on, we ran out, and it was pretty expensive to buy more material. Adam found a great substitute and changed to a nice, light weight jute rope that ended up looking great and worked perfectly. You can find the jute roping here.
We hung the jute rope from screws that we put on either end, the length of the flower wall. The jute was knotted on each screw, pulled taut. As you start hanging the Gomphrena bundles, they will dip down in the middle due to the weight. Pulling taut will make sure that each row doesn’t bow too much.
The flower wall started first with just 3 rows of roping with 40 bundles on each row. Once we started adding the bundles, we ended up adding a 4th row, because of the sheer volume of dried flower bundles we had to work with and because the wall ended up looking a even better with another row of Gomphrena.
From there, we hung the bundles off of the jute with the paperclips, which was a cost effective and easy way to manage the process. For the most part, the paperclip blended into the whole scene and you really couldn’t see it, because of the impact of the entire scene.
We hope we’ve inspired you to try something new next season at your home. Whether that’s simply trying to grow Gomphrena as a new flower in your garden, trying to dry a few flowers to keep and enjoy, or creating your own dried flower wall installation for a little bit larger project!
XX Jenn and Adam


