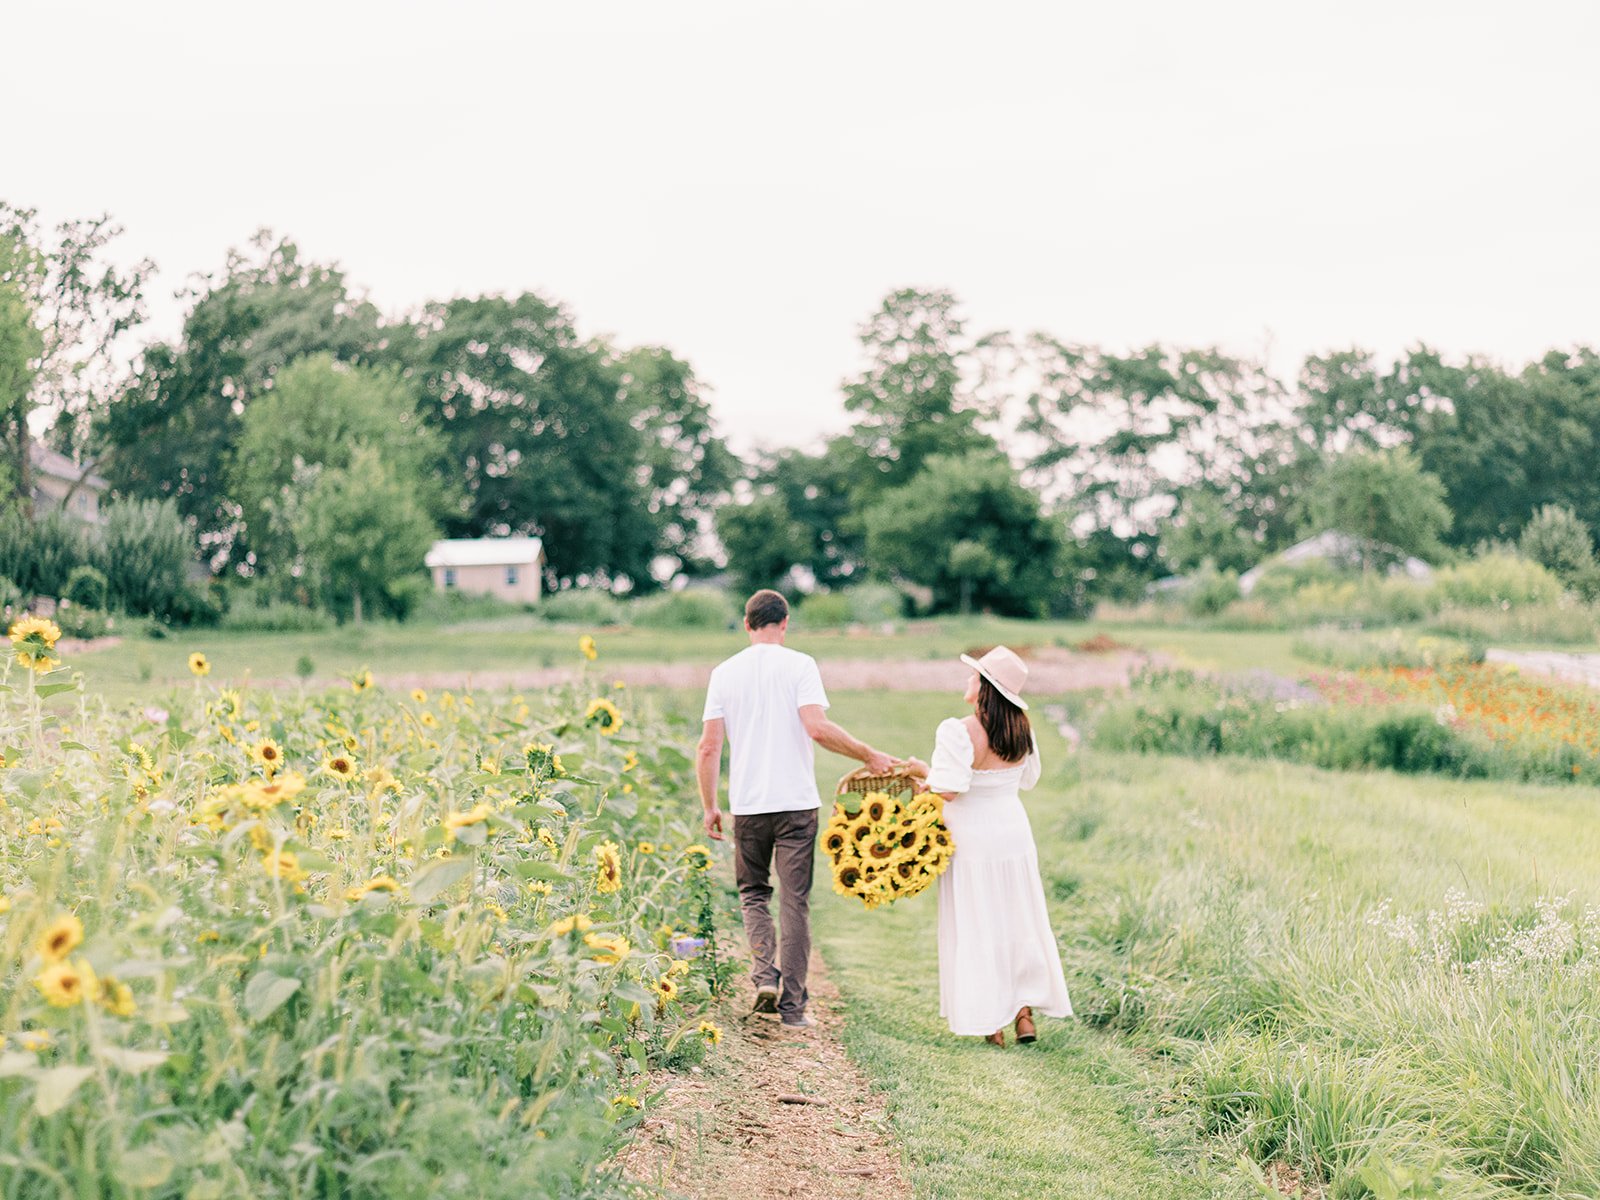
PepperHarrow Feature in BH&G's Christmas Ideas Magazine
Discover our flower farm's wreath-making magic in BH&G's Christmas Ideas Magazine's "Evergreen Gathering" feature. Unique wreaths, charming scenes, and delightful treats create lasting holiday memories. The feature inspires festive decor and encourages readers to spread joy in their own way, making it a beacon of holiday creativity.
The special 2023 issue of BH&G’s Christmas Ideas Magazine is sure to inspire readers with its beautiful imagery, featuring several homes decorated beautifully, including a on our little flower farm! The story about our magical farm features our popular wreath making classes that we host each holiday season. With the talented eye for styling, design and producing direction of Krissa, the incredible writing of Ella, who brings together the story not only of a wreath making workshop, but ideas about to decorate for the holilday season, and Adam who captured the most incredible images, this talented crew knocked it out oof the ballpark with a feature that’s sure to inspire everyone this holiday season.
Evergreen Gathering
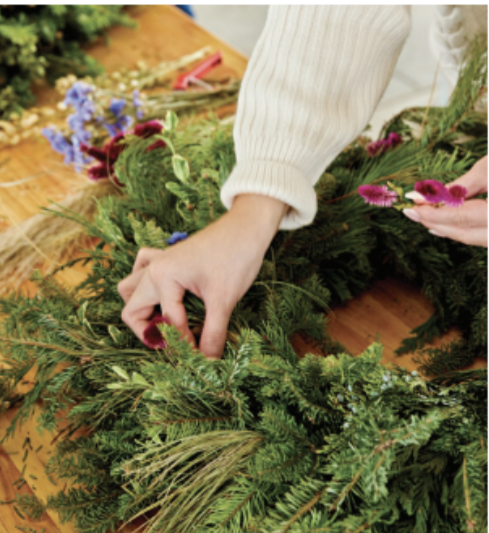
The feature starts off with a HUGE beautiful capture of the dried flowers we provide during our wreath making workshops. The use of dried flowers in seasonal wreaths is a huge compliment to our flower farming business. During the season, we make sure to specifically keep any of the flower left behind, that aren’t used in bouquets each week, or leftovers that don’t see, and hang them to dry. We’ll also grab flowers from the flower fields for drying as well. We’re especially focused on gathering flowers that are red or white, as these shades perfectly complement the traditional holiday wreath combinations!
Many of the extra dried flowers, pine cones, magnolia leaves, and other charming accents are artfully hot glued into our wreaths. When we first started making wreaths, we would meticulously tie these extra bits into the wreath itself, but we soon realized that they were often 'lost' visually within the wreath. Hence, we developed a brilliant solution by placing them on top after the wreath is made, ensuring they stay visible and immediately draw attention as highly focal elements within the decorative wreath.
Photo by Aly Carroll Photography
Nature’s Accents
We’re known for our wonderful selection of greenery to use for holiday wreaths as well, which was featured in the magazine. A few of the named, specialty greenery inclusions includes: port Orford cedar, variegated oregonia, white pine, Douglas fir, Balsam, magnolia leaves, winterberry, and lavender. This is just naming a few of some of the special sparkles we recommend for including in a seasonal wreath.
Photo by Adam Albright Courtesy of BHG’s Christmas Ideas Magazine
One of our absolute favorite parts in this beautifully captivating feature is undoubtedly the adorable presence of our daughter's darling little kitten, Kyra. Caught forever in the freeze-frame of one of the vivid images, Kyra is effortlessly perched on our dainty love seat, perfectly blending into the picturesque scene that surrounds her, radiating an unparalleled adorableness that truly melts our hearts. As we glance at the newly crafted wreaths hanging gracefully in the backdrop, Kyra truly completes the picture, enchanting our souls and leaving an indelible mark of pure joy!
“Adding a fragrant simmer pot for events helps to create a magical, festive atmosphere for guests who visit our farm during the holiday season”
Easy Simmer Pot Recipe:
5-7 Sprigs of Noble Fir Fresh Greenery
4 Sprigs of Red Cedar Greenery
1 Cup Fresh or Dried Cranberries
5 Slices of Fresh or Dried Oranges
2 Tbsp Cloves
Adding cranberry champagne cocktails or fun holiday mimosas has proven to be a delightful enhancement for our wreath making workshops. These light libations not only infuse a festive ambiance into the atmosphere but also help our attendees relax and allow their creative juices to flow freely. To complement the cocktails, we offer an array of delectable treats such as indulgent chocolates, irresistible cookies, and a charming charcuterie wreath specially crafted by our talented friend Wendy from Get on Board DSM.
Each bite of these mouthwatering treats adds an extra layer of decadence, perfectly complementing the refreshing sip of the cocktails. Together, these delightful additions create a truly immersive and indulgent experience for all who join us, leaving lasting memories of laughter, creativity.
PHoto by Adam Albright Couresty of BHG’s Christmas Ideas Magazine
Hot Cocoa Station
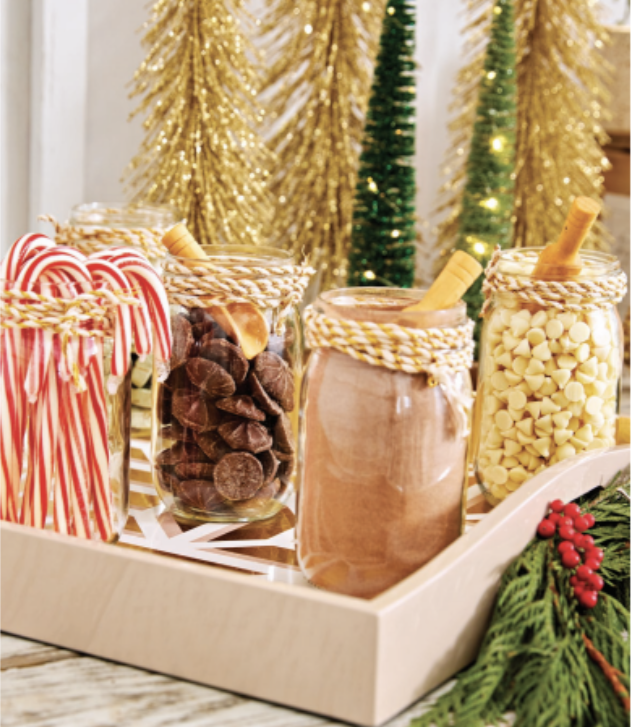
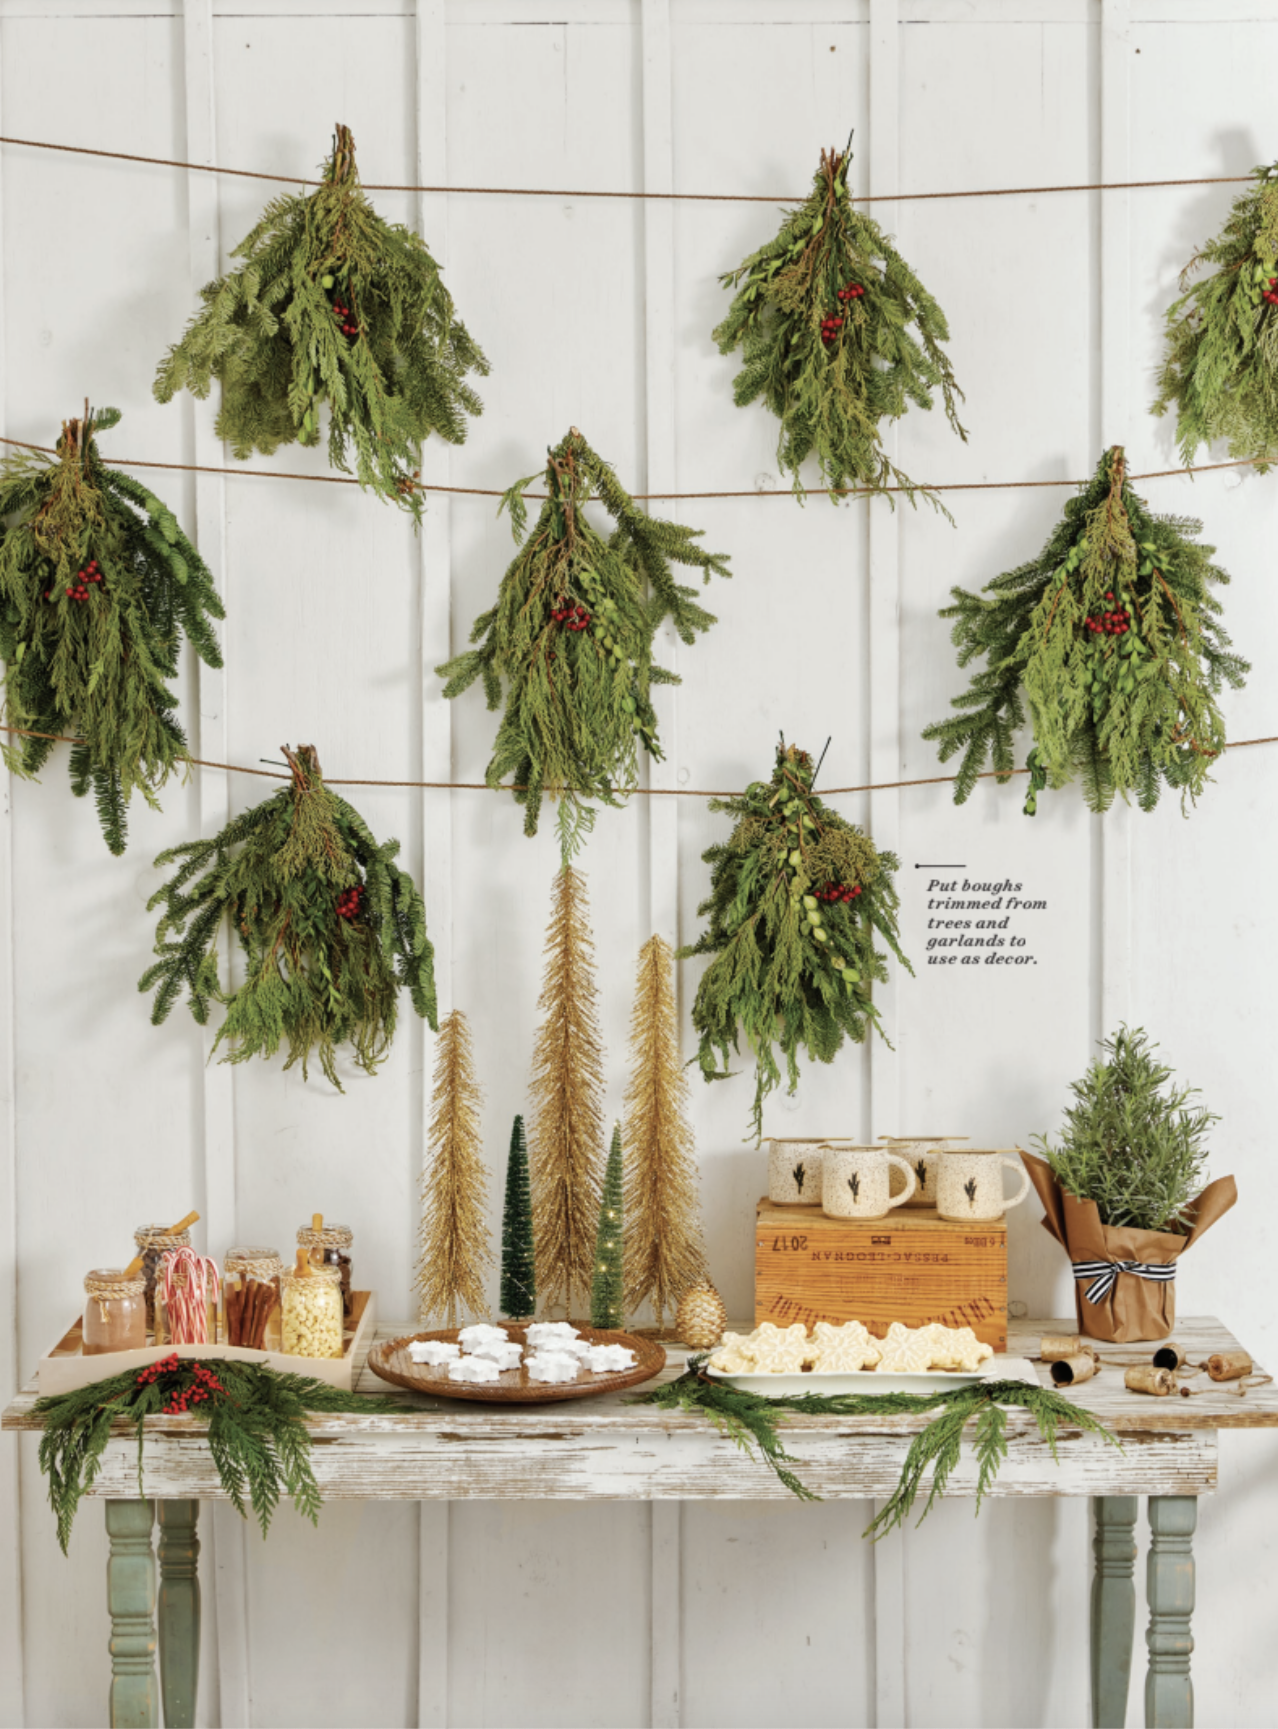
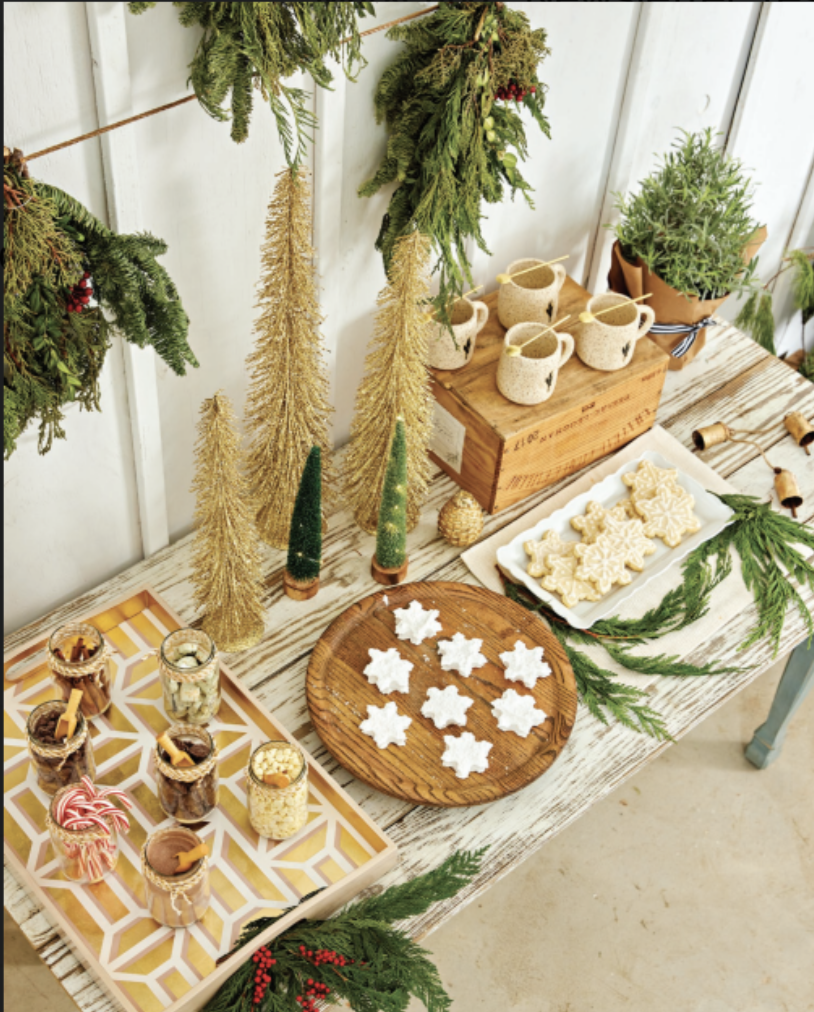
Guests love to have a warm, drink in hand from our hot cocoa bar setup with all the fixings for a great cup of hot cocoa. Included are homemade marshmallows, and pretty, decorated snowflake cookies from Deanne at Cake DSM.
We hope you all had a chance to snag a copy of this beautiful feature before it leaves newsstands. The pages were filled with jaw-dropping decorating ideas, helpful tips, and clever tricks to elevate your holiday decor. From stunning wreaths to charming tablescapes, there was something for everyone to find inspiration in. Trust us when we say that this issue is well worth buying for some much-needed holiday decorating inspiration!
As always, we are incredibly grateful for your continued support of our little flower farm. Your enthusiasm keeps us motivated to bring you the best content possible. Our biggest hope is that you are not only inspired by these ideas but also encouraged to put your own spin on them. Whether it's creating your own wreaths or hosting your own intimate workshops with loved ones, we want you to experience the joy of creating beautiful decorations that reflect your unique style. So go ahead, let your creativity bloom and spread the holiday cheer in your own special way!
XX Jenn and Adam
Growing Lavender in the Midwest
Three years ago, the idea of half an acre of lavender blooming seemed dreamy and far-fetched. Despite harsh Iowa conditions, including tough winters and hot, humid summers, our lavender fields flourished in their second growing season. We indulged in a month-long harvest, hosting photography sessions amidst the lavender. From mocktail classes to online courses, we embraced lavender experiences. Our expanded product line, including lavender sugar, salve, and soy candles, became a labor of love. Grateful for the support of friends, our products are set to launch online on 9/25/20—ready to share the joy of lavender with all.
Growing Lavender in the Midwest and Loving it!
If you had told me we would have 1/2 an acre of lavender blooming at any point 3 years ago, I would have thought it was an amazing idea, but it would have sounded completely far-fetched annnnd completely dreamy.
I’d spent 4 solid years testing out planting methods, testing my own theories about how to grow successfully, and making some accidental discoveries about growing lavender in the harsh growing conditions here in Zone 5b, Central Iowa. It was mostly observation and those ‘happy accidents’ that propelled us so far forward with enabling success. Crazy, right!?
Lavender prefers a more mild climate, with poor soil, neither of these Iowa has for the most part. Our winters are tough, getting incredible cold and conversely, our summers are crazy hot with extremely high humidity, which lavender plants dislike immensely.
But here we are, into our second growing season with lavender, reaping a bounty of blooms! Also, as we head into Fall, we’re even getting a small out of a second bloom on our plants, which has been nice for wedding work and to use for a few additional products.
Our fields yielded so many blooms, we spent nearly a solid month and a half cutting all the blooms, almost daily, into our workshop for small batch hand crafted distillation and bud drying (for dried bunches and sachets).
We enjoyed every moment of it an also enjoyed sharing it with photographers who brought out so many of their clients. We were booked solid each evening for a month and a half with newly engaged couples, families, and senior photo session.
Just incredible to get to share the lavender field with folks and to get to see the amazing photos. Check out this amazing blog post with some additional photos by Stephanie Daggett, here. It makes my heart happy to see such beauty, captured and shared with others to enjoy. So beautiful!
Adam even had fun with taking photos, breaking out his electronic ‘toy’, his new drone, to take a few photos of us in the lavender. Gotta say, that drone really takes some amazing photos!
We added so many classes, classes, classes! Everything from mocktail making with lavender simple syrup with Jeff Naples, the Beard Behind the Bar, to lavender distillation. You name it, we tried it this year with great success. Look for a whole line-up of farm experiences based around lavender next year.
We so enjoyed having so many out to the farm to share our knowledge. We love getting to meet new people who share our excitement and love of plants.
Not only did we hold on-farm classes, but we also launched our first ever online course on growing lavender. We weren’t sure online learning was going to be something people were interested in, but we were oh so wrong. It’s been super popular!
The final offering we’ve centered around lavender is our lavender products, which I kind of talked briefly about in the beginning.
We spent so long, lovingly making each of these products on a small scale, by hand. It’s truly been a labor of love brining these lavender products to market and was a huge undertaking. I had no idea what we were getting ourselves into when we decided to expand out our lavender product offering beyond essential oil and hydrosol. Whooowee!
This year, we expanded our lavender products to include: lavender sugar, salve, bath salts, wreaths, and sachets. They’ve been really popular so far and I’m excited to be adding even more new items next year. I’m especially excited about our lavender candles! They’re absolutely incredible! They burn clean, have an amazing fragrance and burn for a really long time.
We’re thankful for the help of our amazing friend Keelia from K Henri Design for creating our packaging and also to Dani at Sugar Hill Photography for the wonderful product images. We couldn't have done any of these without these terrific gals.
Picture by Sugar Hill Photography
So, are you ready to try to grow some lavender or sample some of our amazing products? We’ll have all of our amazing products online and available to the general public on 9/25/20. We can’t wait to share them with you, and for you all to share them with your loved ones.
XX Jenn
Forcing Blooming Flower Bulbs
Forcing vibrant spring blooms, including tulips, daffodils, and hyacinths, is a simple and rewarding project. This year's success involved intentional potting, minimal watering, and the necessary chilling period. Bulbs, potted in clay pots with pea gravel for drainage and adorned with Spanish moss, thrived with regular but light watering. Replicating this process for tulips, including a fringed mix, brought delightful results, making it an ideal project for both seasoned gardeners and first-timers, offering a burst of color and joy.
What’s Better Than Spring Blooms?
Gorgeous, scented, vibrant, cheery spring blooms from bulbs. You know who they are! Tulips, daffodils, hyacinth, grape hyacinth. All the pretties! Could there be anything better? The have wonderful fragrance and when cut in a mixed bouquet, look like something from a Dutch still life painting…swoon.
For the last two years, we’ve experimented with forcing spring blooming bulbs. I’ll be totally honest, last year was a total flop. It was a good try, but I didn’t do it right. I brought in bulbs early spring, plopped them into pots and watered away. They did sprout, but they didn’t perform like I needed them to and ended up totally failing. What a bummer! Well, this year, I learned the correct way to do this and now have loads of forced blooms to share with my friends, family and customers. I’m totally excited to add some cheer into people’s lives, especially right now with all of the isolation and social distancing happening. They’re a sure way to add some cheer.
Gorgeous rustic terra-cotta pots with forced hyacinth.
Crating: this year, instead of pulling bulbs out at the last moment, I intentionally potted them up in crates when they arrived in early November. I added a layer of dirt (about 5 inches deep) and gently pressed the bulbs into the dirt, leaving the top of the bulb exposed—I didn’t cover with dirt.
Watering: bulbs actually take a minimal amount of water. I maybe watered lightly every month. If the bulbs become too wet, they will rot. I did have a few hyacinth bulbs that ended up rotting. I took them out as soon as I saw it and tossed them in the compost pile.
Temperature: bulbs must be kept cold until you’re ready to allow them to bloom out. We kept out bulbs in our minimally heated shop space, near the front door (for extra cold). The space was kept around 40 degrees all winter long and this was enough to give the bulbs the ‘chill’ period they need in order to be force. They have to be kept at this temperature for at least 12-16 weeks. Our were actually in the chill stage from November through March, so much longer than needed; however, if I had wanted to pull them out earlier, I could have done that.
Potting: bulbs were placed in a deep clay pot. I placed about an inch and a half of pea gravel in the bottom, because the pots I used didn’t have holes in the bottom. This gives the water a resting place without the roots becoming too water logged. On top of the pea gravel, I placed about two inches of dirt, then added the bulb, roots down, into the dirt, filling in dirt around the remainder of the bulb. Water them in, lightly. On the top, I placed Spanish moss (shown above) and a tag from the farm. Voila!
Care Advice: water once a week, but not heavily. These bulbs don’t need a ton of water to produce their gorgeous blooms and we want to make sure that the roots don’t sit in water.
I also copied this same process for tulips, daffodils and grape hyacinth. Since the tulips are smaller, I added four bulbs into a shallow pot, again putting pea gravel at the bottom for drainage, and added a bit of pea gravel and Spanish moss on top. The tulips are pretty special, because they’re a fringed mix, which everyone absolutely goes gaga for. They’re just gorgeous!
If you’ve never tried to force bulbs before, I highly suggest it, even if you have failed in the past, like me. It was fun and encouraging to give it another go, seeing success this round. If you’re a first time gardener, you should also try this at home. It’s a simple process and you can find any of these bulbs at your local nurseries, and/or hardware stores in the fall.
Get Growing!
XX Jenn


