2024 Holiday Style Guide
Check out our 2024 Holiday Style Guide! It's the time of year to turn our farm spaces into a cozy, wonderful winter wonderland. The best way to do it is by adding the natural beauty of fresh greenery, natural accents, with pretty, muted accent colors. This holiday season, plan on decorating with nature's gifts to craft a festive and welcoming atmosphere that feels warm and looks stunning.
YAY! It's the time of year to turn our farm spaces into a cozy, wonderful winter wonderland. The best way to do it is by adding the natural beauty of fresh greenery, natural accents, with pretty, muted accent colors. This holiday season, plan on decorating with nature's gifts to craft a festive and welcoming atmosphere that feels warm and looks stunning.
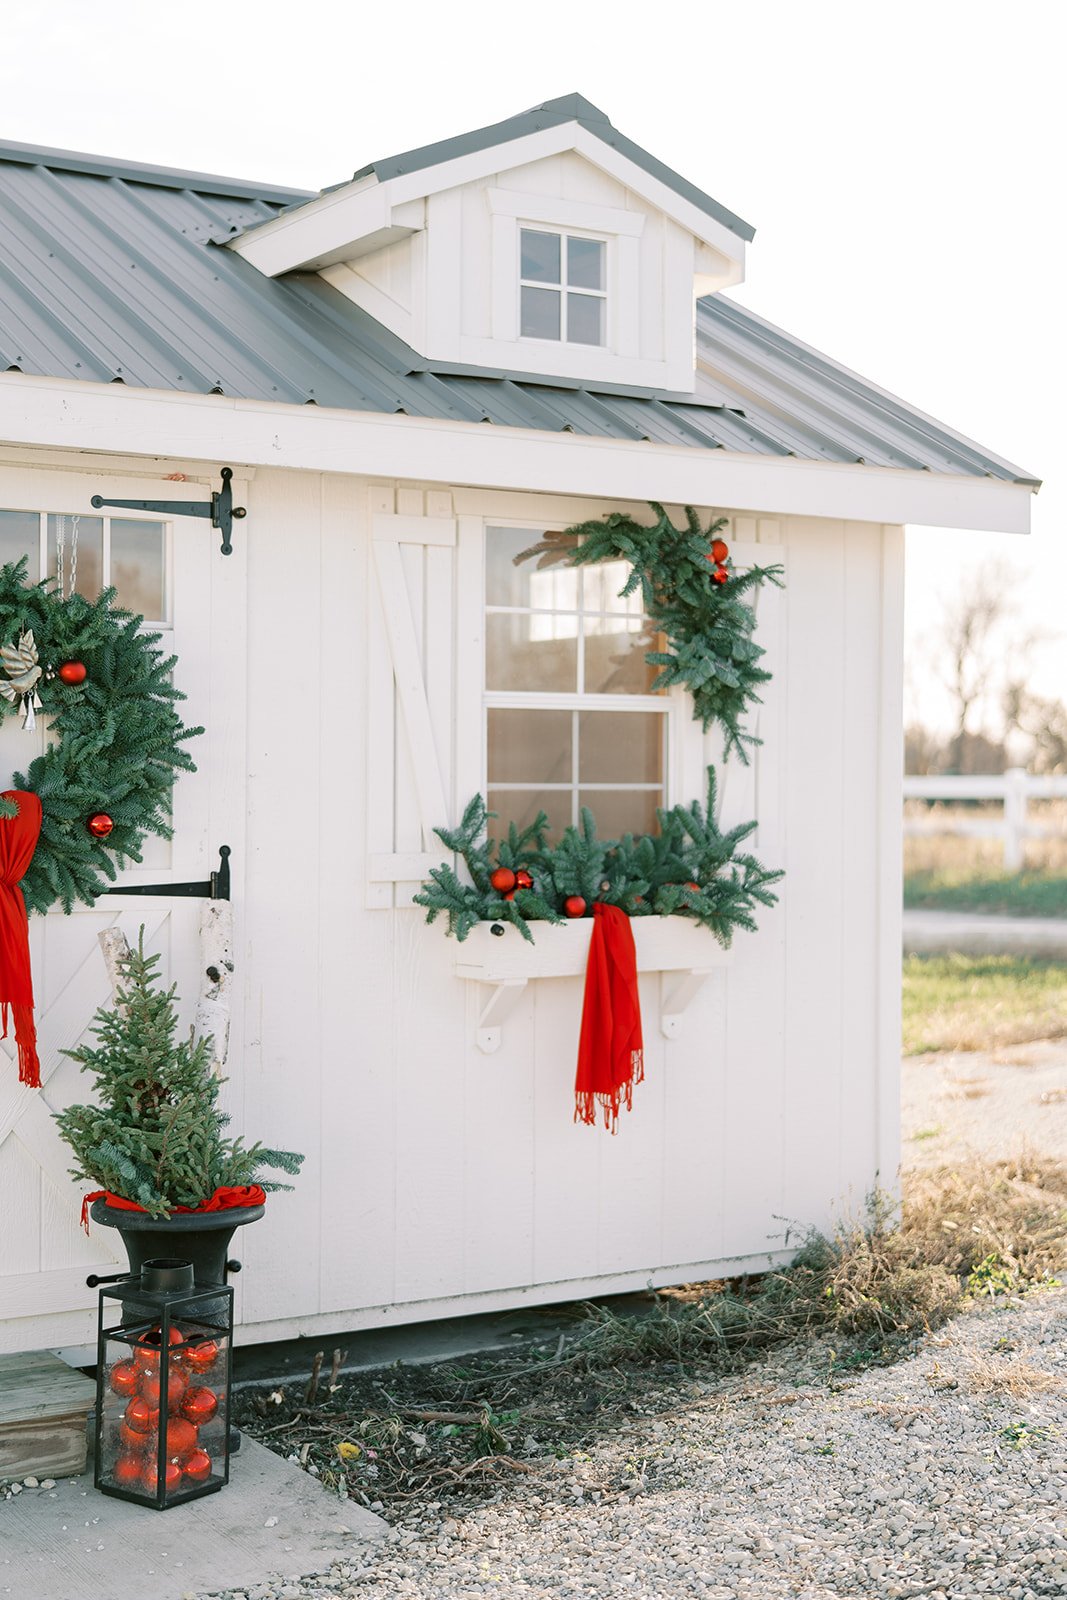
It’s the MOST wonderful time of the year! We love decorating for the holiday season at the farm with lots of natural materials. This year we decided to decorate the exterior of our spaces with the color combinations of soft, muted tones such as sage green, terracotta, brick red and metallic colors such as bronze and muted gold tones. So very pretty! We love the way it elevates the look of our pretty flower cottage. Unassuming, simple, yet elegant.
Power of Pink
Pops of soft pink strategically placed throughout your decor add a touch of modern elegance to the effect of simple greenery. What can you use? Think about pretty pink velvet or satin ribbons, carefully tied bows, non-traditional ways to add pink to your decor like pretty dried flower ornaments, or dried gomphrena wreaths (shown below) and clusters of shiny ornaments.
Bows are super IN right now so add as many as your heart desires! There also seems to be a trend this year more towards large velvet bows, so the bigger, the better. You can put a bow on just about anything your heart desires and it’s pretty much guaranteed to look wonderful.
Wall tree created as a pretty backdrop for photos on the farm for visiting guests
Nature’s Elegance
Start by bringing the outdoors in with fresh greenery. Noble fir branches, cedar, and pine not only infuse your home with the invigorating scent of the season but also serve as a canvas for holiday creativity. Drape garlands along stair railings, mantels, and doorways, allowing the vibrant green hues to set the stage for a festive atmosphere.
A well-crafted wreath speaks volumes. Starting with fresh greenery for your wreath, add unexpected dried flower accents, such as gomphrena, statice and strawflower to your front door. From pine cones, cinnamon sticks to velvet and satin bows, create a warm and inviting welcome for guests.
Elevated Ideas
Elevate your holiday decor with a unique twist by using starburst lights as indoor decorations. While typically reserved for adorning porches, we took a creative approach by suspending these beauties from the rafters inside our event barn. The result? A striking design statement that infuses the space with a touch of holiday magic. Picture the awe-inspiring sight of these twinkling lights gracefully hanging from the rafters, their magical sparkle lights casting a breathtaking glow throughout the room. It's a simple yet impactful way to bring the spirit of the season indoors with a touch of whimsy and elegance.
Oldies but Goodies
Can you ever have too many bottlebrush trees? Every year we seem to add more to our collection. In year’s past, we’ve collected many different colors, but this year, we chose a simple green color that looks simple, but pretty in our space. Add a little ‘snow’ from stuffing and twinkle lights and you have a ready made Christmas Village.It’s the easiest, most pretty holiday decoration idea.
As the holiday season approaches in 2024, we hope we’ve given you a few ideas for how to decorate your homes with warmth and festive cheer. Gather inspiration, let your imagination run wild, and make this 2024 holiday season truly unforgettable. Happy decorating & hosting for the season!
XX Jenn and Adam
2023 Holiday Style Guide
Deck the halls with nature's charm this holiday season! Elevate your decor with pops of bold red, fresh greenery, and classic plaid. Embrace a DIY delight with snowflake and tree topper decorations. Create a tasteful tablescape with dried flower-adorned pumpkins and blooming potted bulbs. Transform your space into a winter wonderland with PepperHarrow Flower Farm's festive decorating tips. Happy decorating and hosting for the 2023 holiday season!
'Tis the season to transform our spaces into winter wonderlands, and what better way to do so than by embracing the timeless beauty of nature with fresh greenery accented with pops of bold color? This holiday season, let's dive into the art of decorating with nature's bounty, creating a festive ambiance that is both inviting and visually stunning.
The Power of Pops
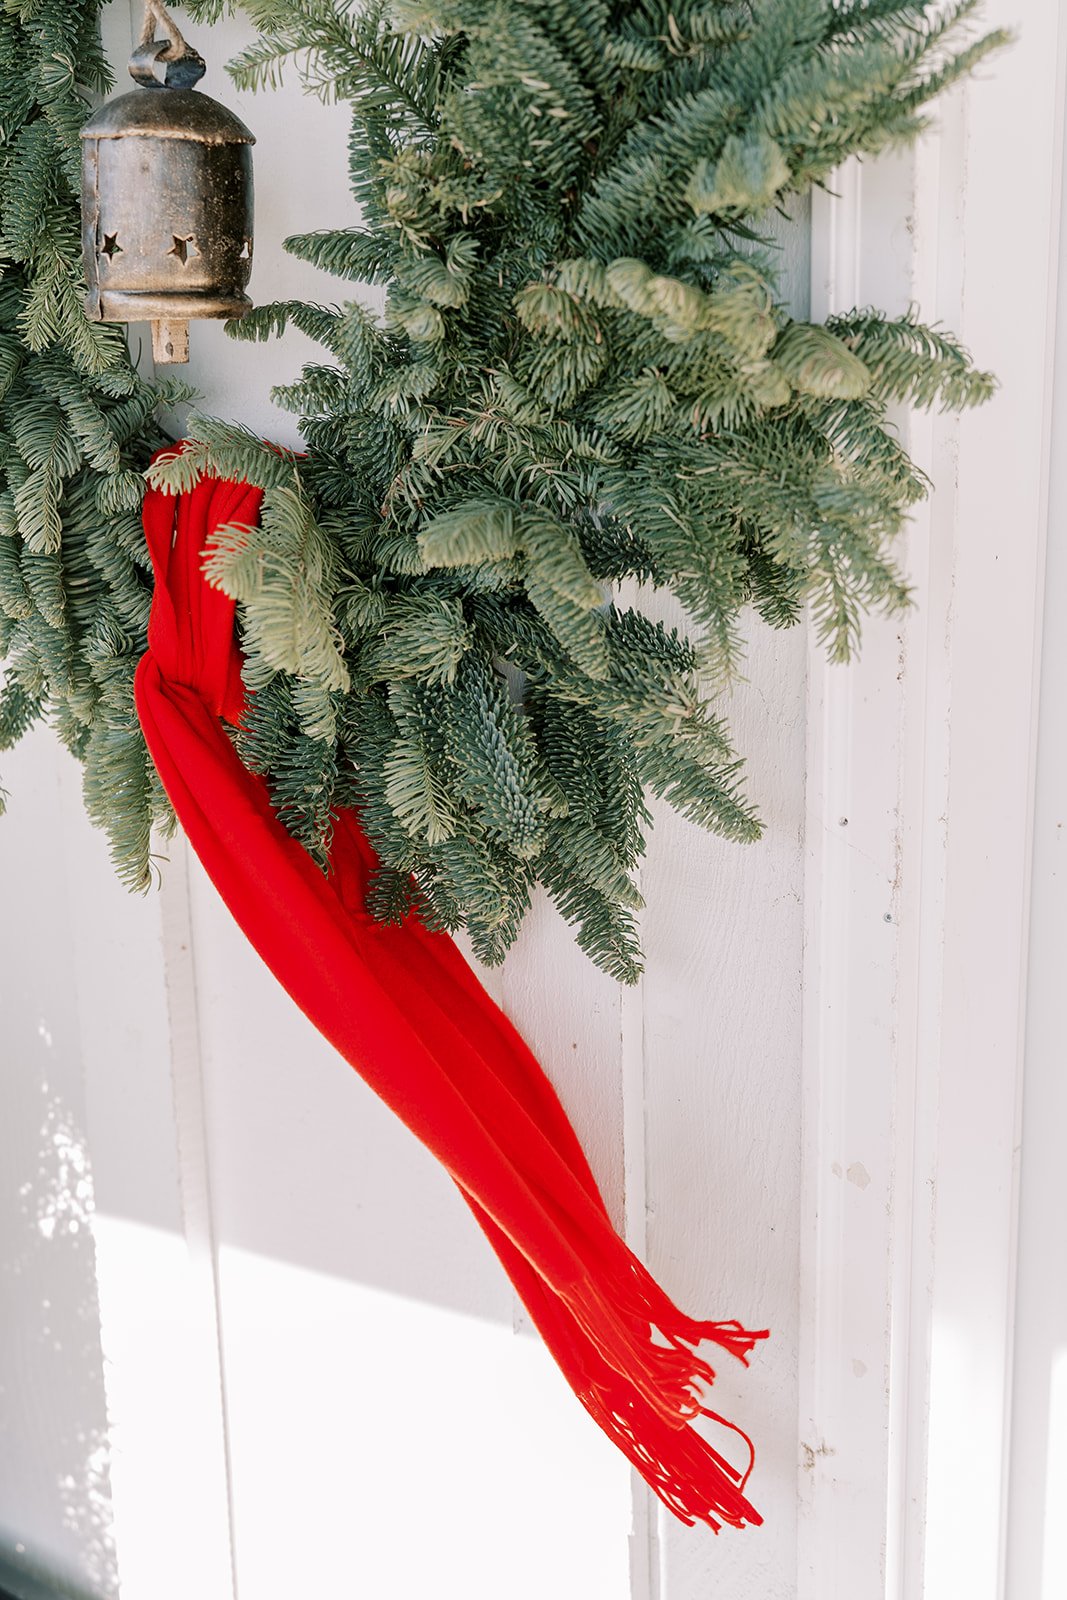
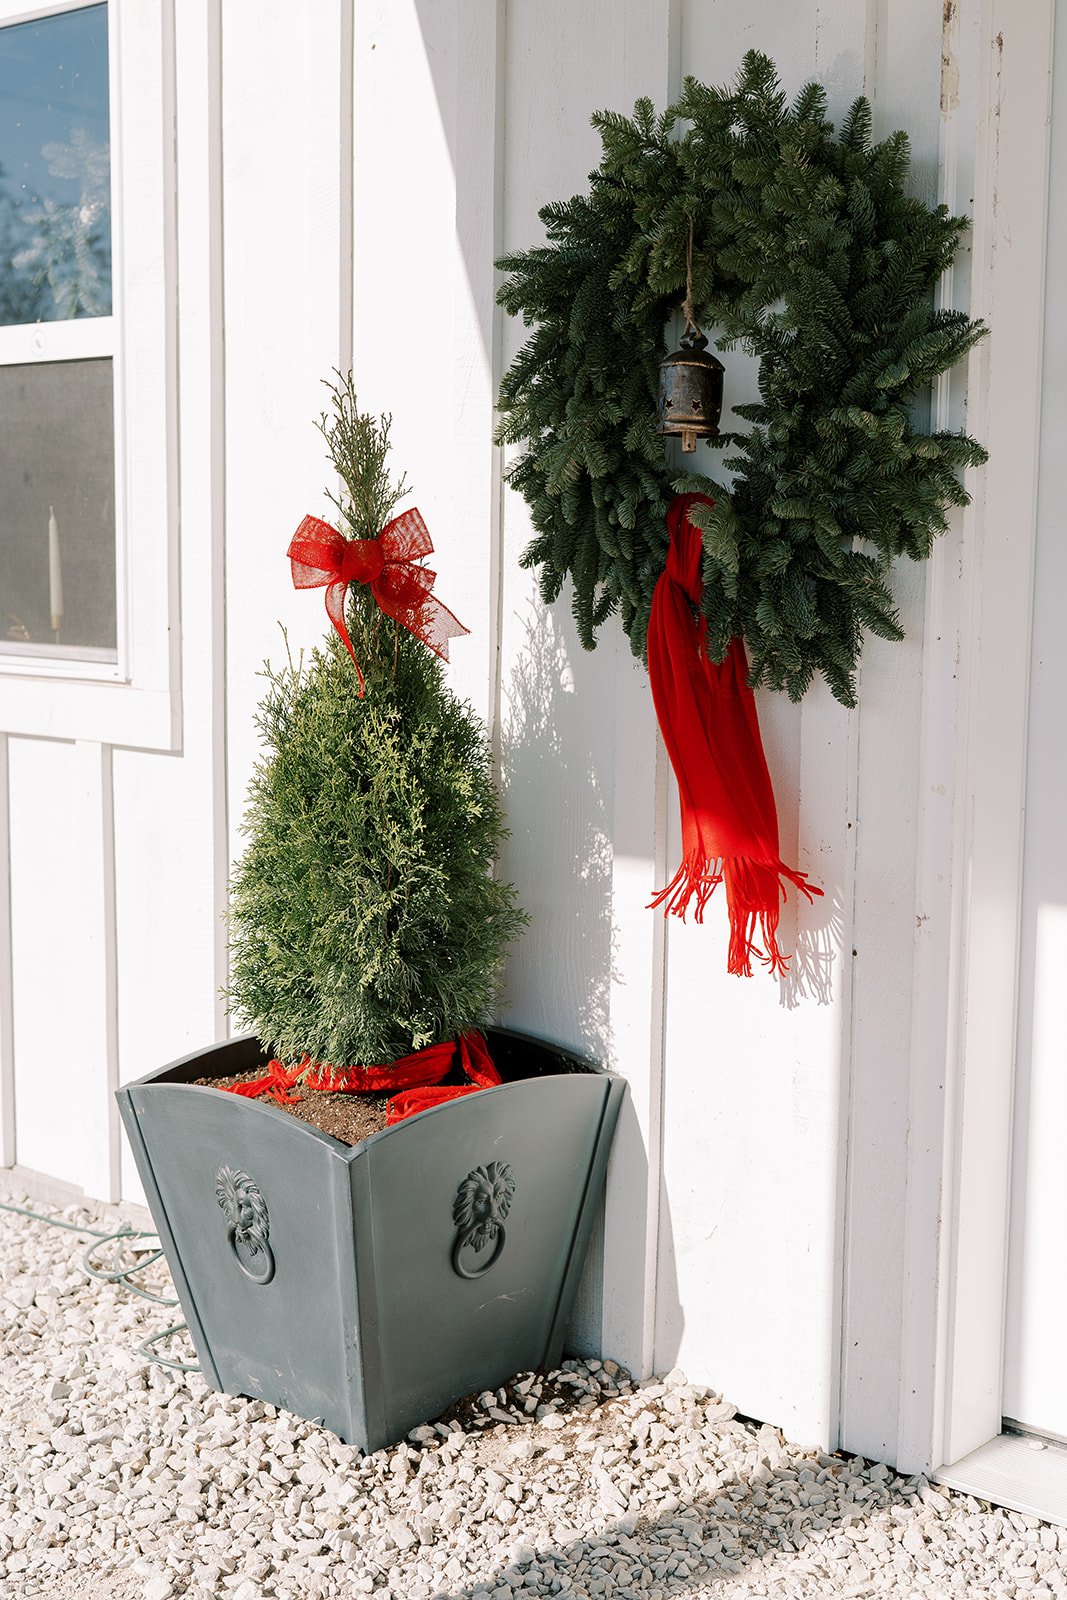
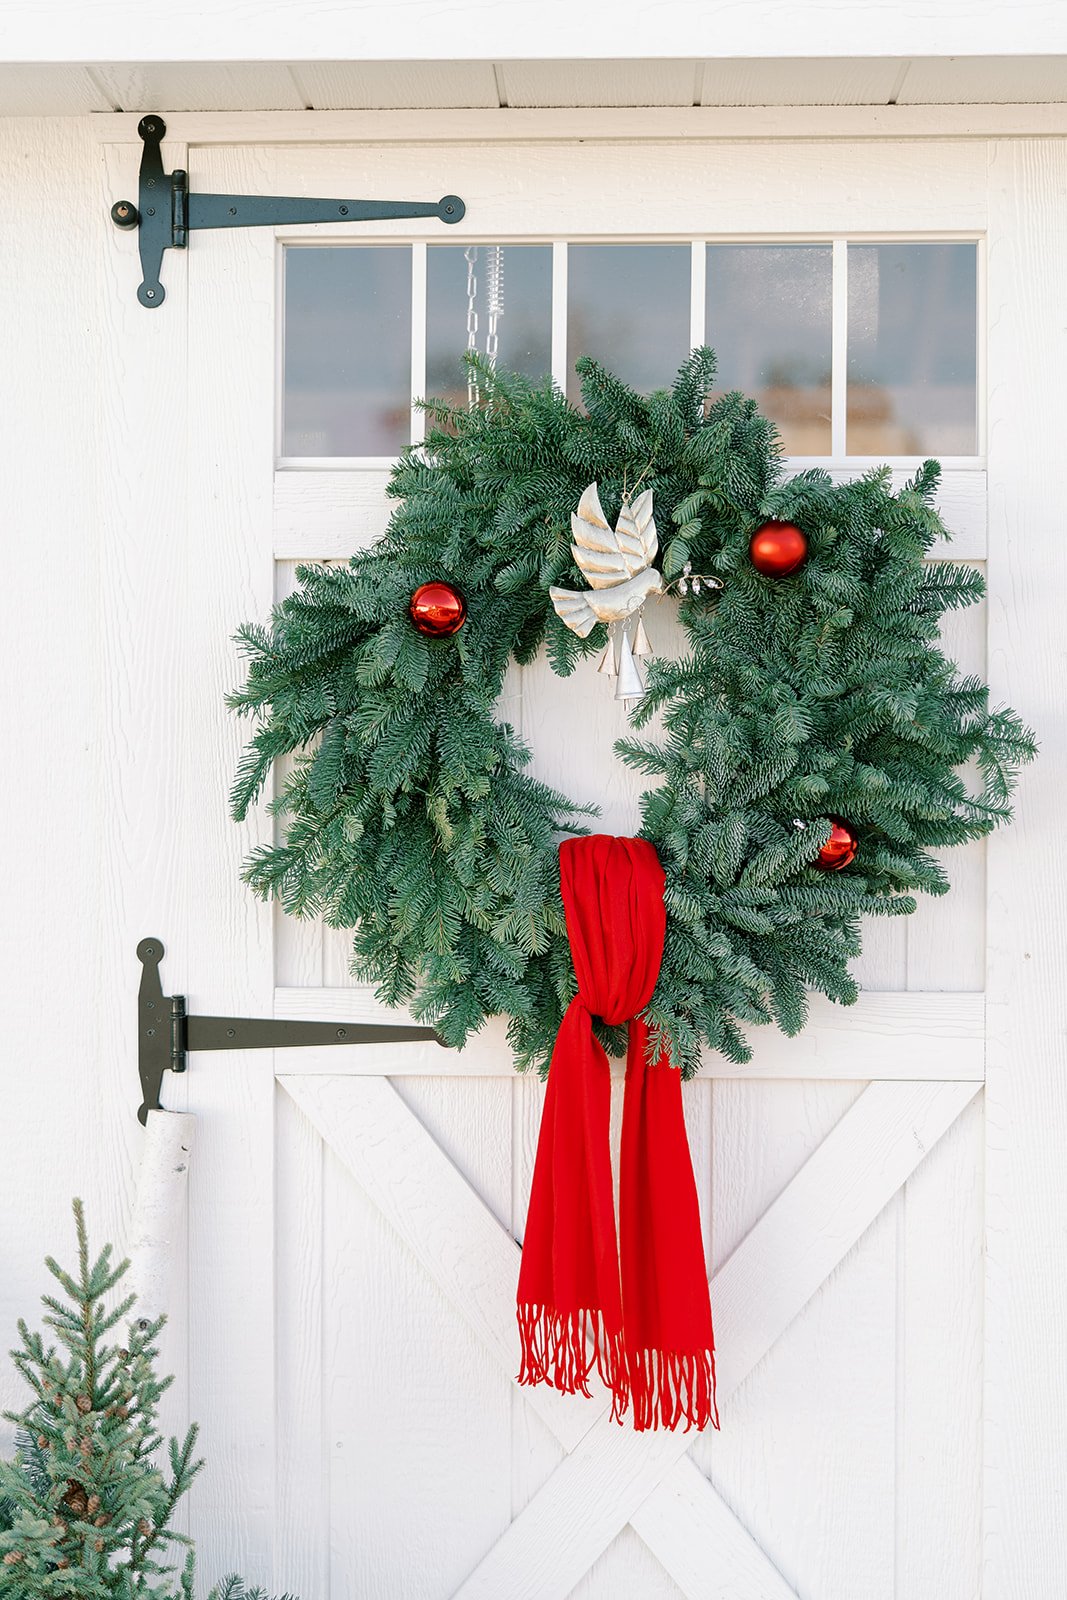
Pops of bold red strategically placed throughout your decor add a bit of classic charm to the effect of simple greenery. What can you use? Think about vibrant red velvet or satin ribbons, carefully tied bows, non-traditional and relaxed looking scarves (show below) and clusters of shiny ornaments added to wreaths or in lanterns (shown below). The contrast between the rich red and the lush greenery creates a visually dynamic and eye-catching display, instantly elevating the festive spirit in any room.
Nature’s Elegance
Start by bringing the outdoors in with fresh greenery. Noble fir branches, cedar, and pine not only infuse your home with the invigorating scent of the season but also serve as a canvas for holiday creativity. Drape garlands along stair railings, mantels, and doorways, allowing the vibrant green hues to set the stage for a festive atmosphere.
A well-crafted wreath speaks volumes. Add fresh greenery and festive red accents to your front door. From holly berries to bows, create a warm and inviting welcome.
Traditional Style
Who doesn’t love a little classic plaid for a traditional holiday vibe? Whether it's in the form of throw blankets, pillows, or table runners, plaid introduces a cozy and rustic element to your festive decor. Opt for red and green plaid patterns to seamlessly blend with the fresh greenery and pops of red. Drape plaid blankets over sofas and chairs or use plaid table runners as a backdrop for your holiday dining table. The addition of plaid not only enhances the overall aesthetic but also brings a sense of warmth and comfort, making your space feel like a snug winter retreat.
For more inspiration for holiday decorating and to see our wreath making feature, check out BH&G 2023 Christmas Ideas Magazine, on stands now.
Simple & Elegant DIY Delight
Looking to add a personal touch, both simple and elegant, to decorate your home with over the holiday season? The beauty of snowflakes made with greenery and decorative twine is a beautiful way to achieve that look. Decorating with noble fir boughs (or any greenery) is a testament to nature's incredible artistry, with the feathery branches mimicking the intricate patterns of real snowflakes. The addition of decorative twine not only serves a functional purpose, tying the boughs together, but also enhances the overall aesthetic, adding a touch of charm. Adding an old tree branch foraged from our nearby woods to hang the snowflakes from, gives an added rustic effect. This unique creation celebrates the holiday spirit and the timeless allure of nature's beauty.
To acheive this look you’ll need greenery boughs, twine, fishing line, and floral snips. Cut 4 small sections off of the bough, smaller sub branches about 6” long. Arrange them together in a snowflake shape with the bases all facing each other. Using your twine without cutting a length, begin wrapping the twine around the bases, keeping twine light to not allow movement of the branches. Wrap twine in a X pattern to secure properly and tie the twine in a double knot to finish. Use fishing line to tie to the top of the branch you’d like to use as the ‘top’ of your snowflake and cut the fishing line to the length you desire for hanging your snowflake. Optional: all an old branch, shower rod, or other decorative base to hang the snowflakes from.
Elevated Ideas
Elevate your holiday decor with a unique DIY twist by using tree toppers as inspired indoor decorations. While typically reserved for adorning porch pots, we took a creative approach by suspending tree toppers from the rafters inside our farm shop and embellished with delicate twinkle lights. The result? A striking design statement that infuses the space with a touch of holiday magic. Picture the awe-inspiring sight of these beautiful trees gracefully hanging from the rafters, their magical sparkle lights casting a breathtaking glow throughout the room. It's a simple yet impactful way to bring the spirit of the season indoors with a touch of whimsy and elegance.
Hosting Friends & Family for the Holidays?
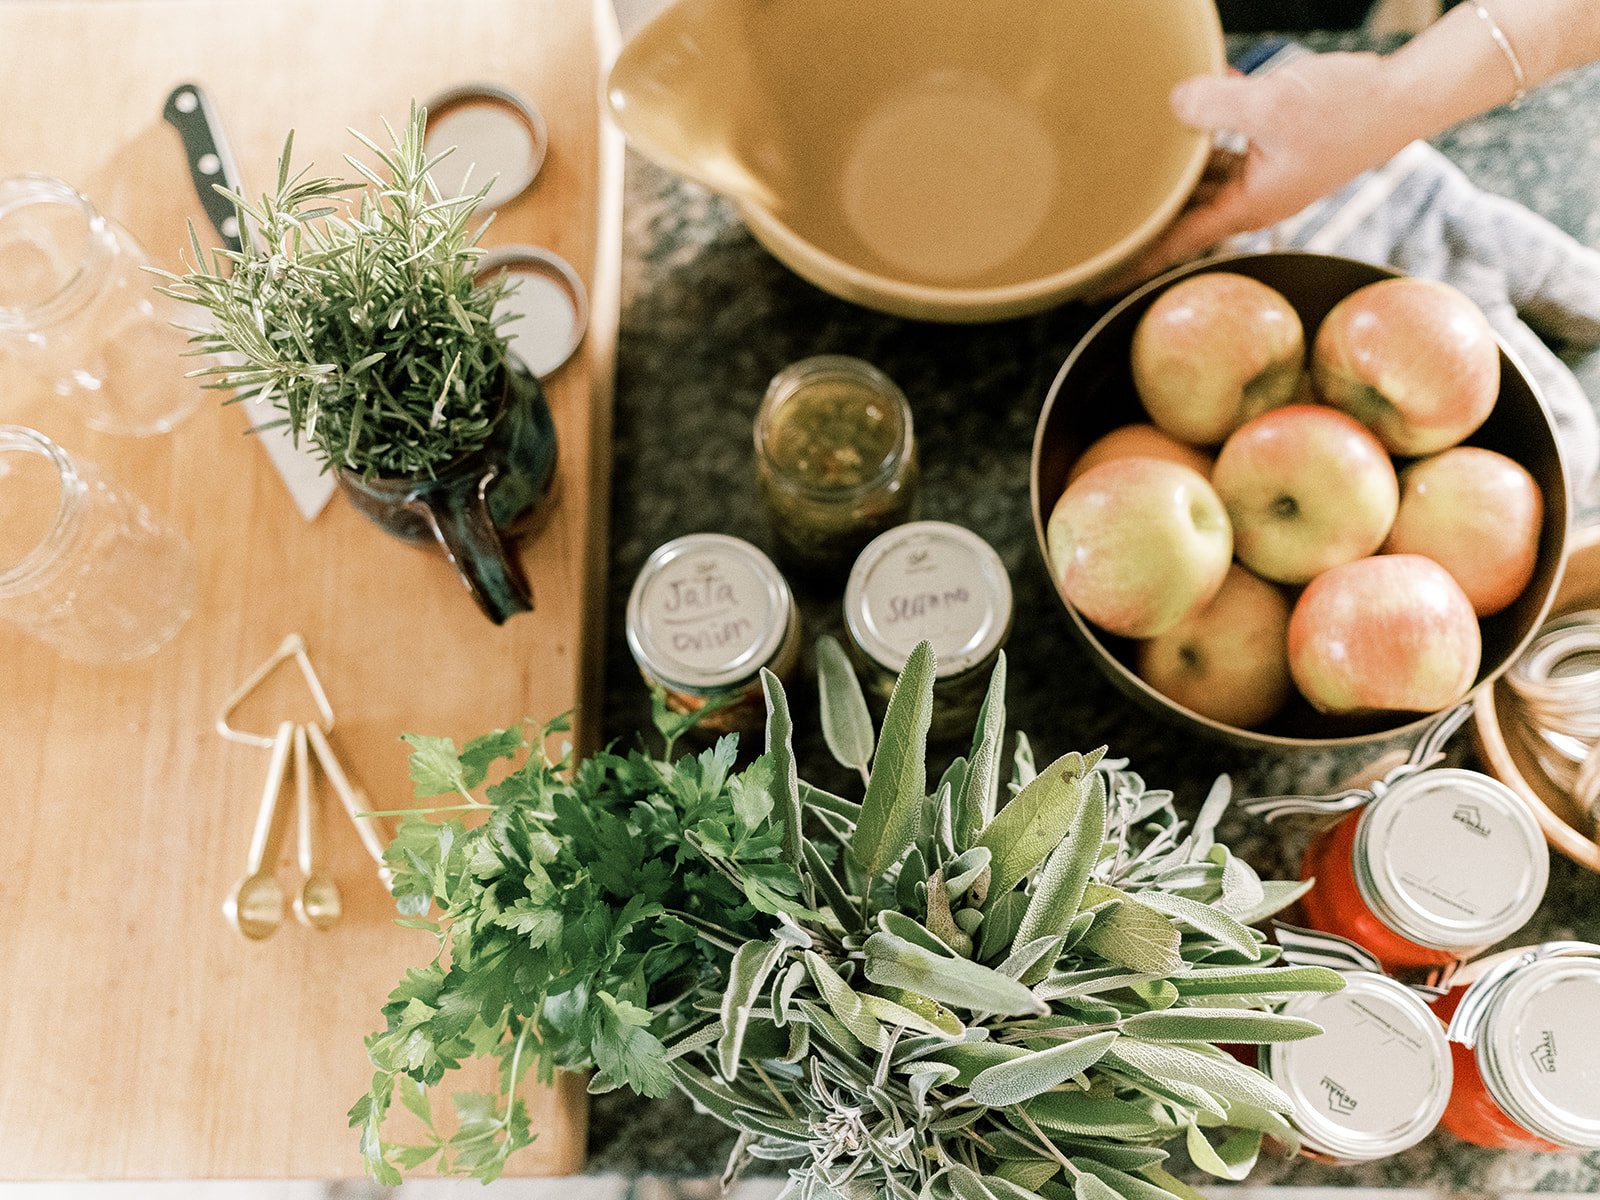
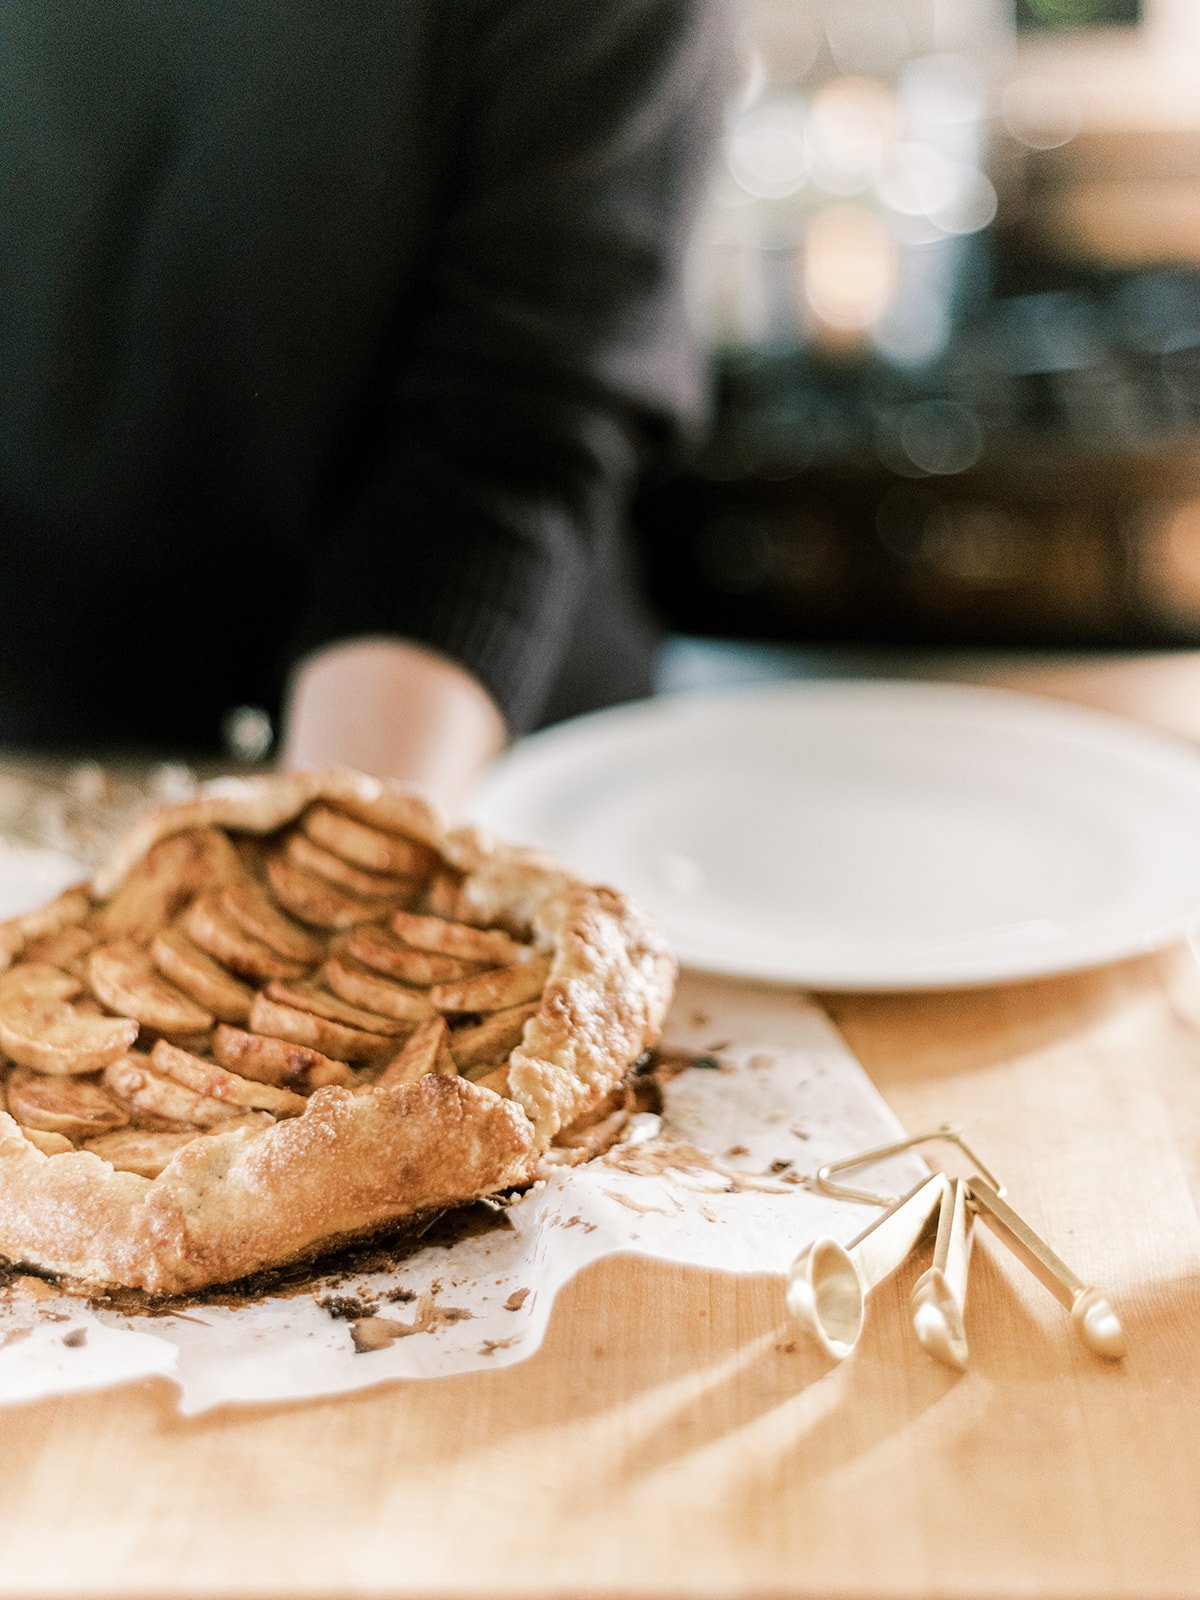
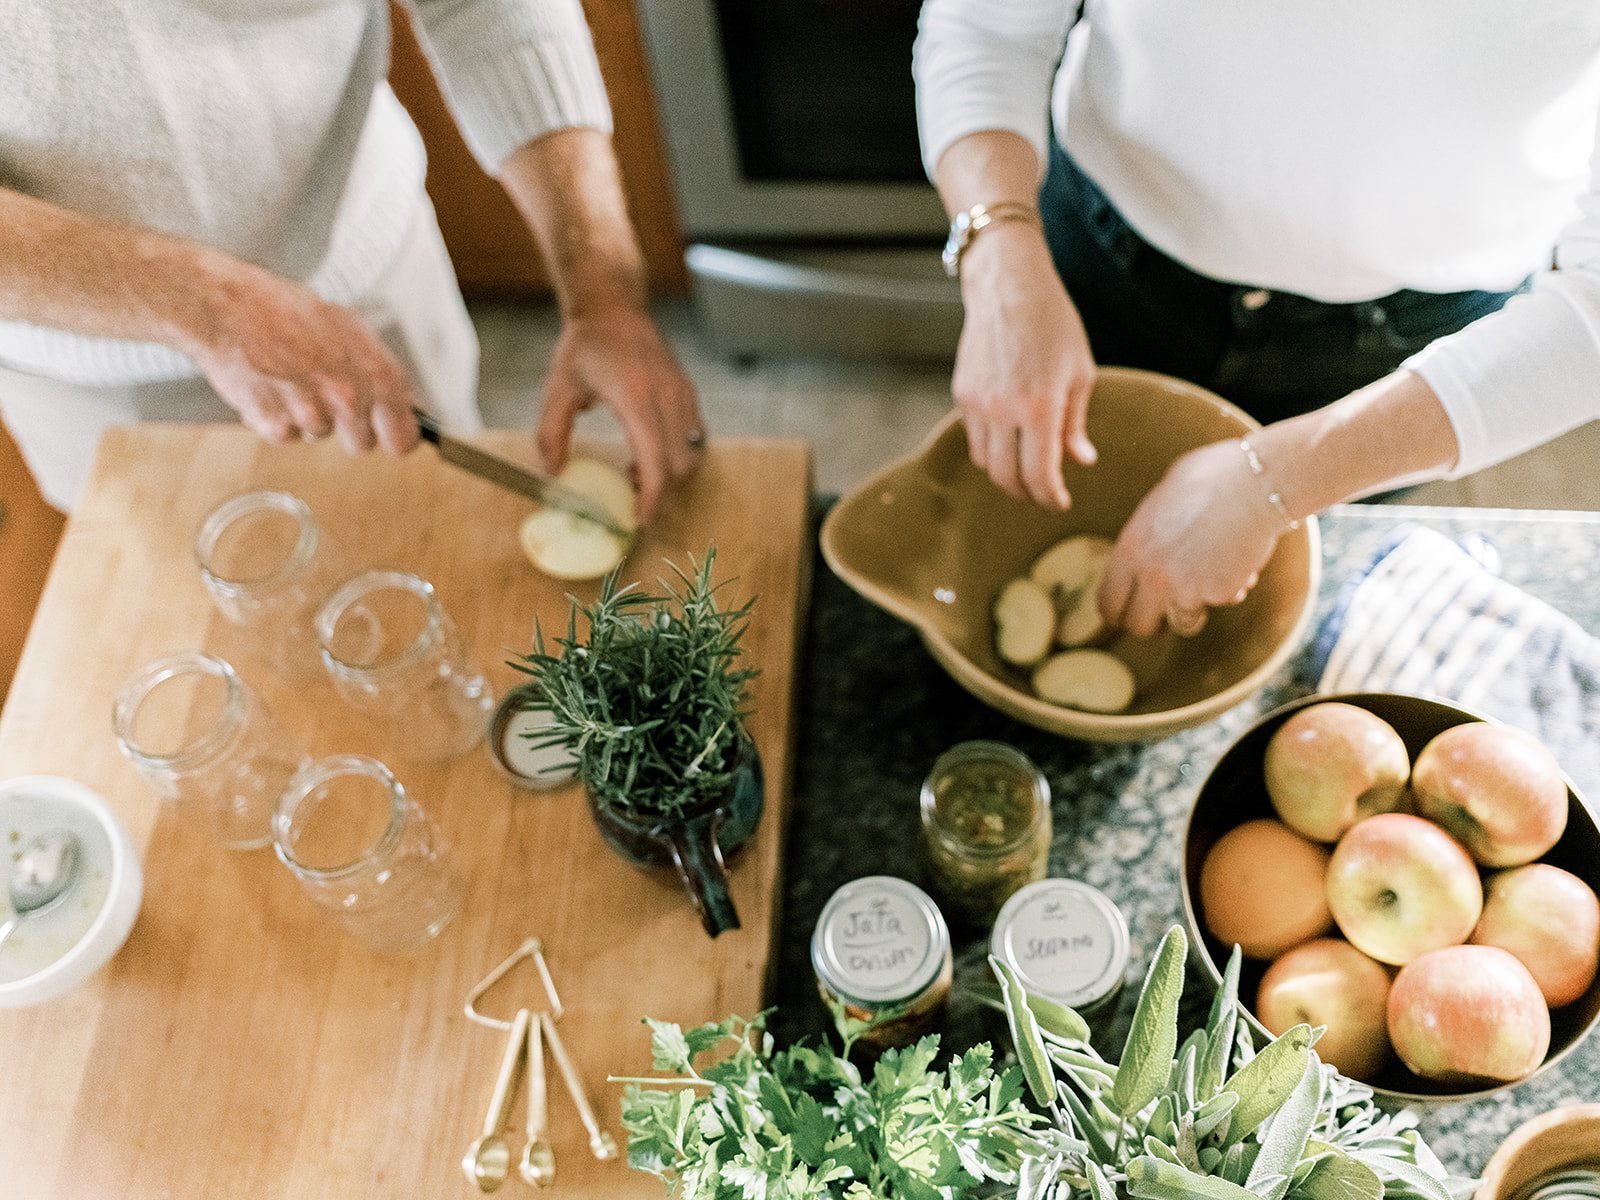
Check out our recipe for our favorite, crowd pleasing, apple galette. We love apple galette, because we always have a bumper crop of apples in the fall from the apple trees in our orchard. We’re always looking for great ways to use them while hosting family and creative recipes throughout the holiday season.
For the Pastry:
1 1/2 cups all-purpose flour
1 1/2 teaspoons sugar
1/4 teaspoon salt
1 stick plus 2 tablespoons cold unsalted butter, diced
1/3 cup ice water
For the Filling:
4 Johnathan apples
2 tablespoons sugar
1/2 teaspoon cinnamon
1 tablespoon lavender infused honey
1 tablespoon unsalted butter, diced
Directions:
Combine flour, sugar, salt, and diced butter in a food processor. Pulse until the mixture resembles coarse crumbs, then sprinkle ice water over it. Process until the pastry just starts to come together, typically around 10 seconds. Transfer the dough to a work surface, shape it into a disk, and wrap it in plastic or wax paper. Allow it to chill in the refrigerator.
Peel, halve, and core the apples. Slice them crosswise into 1/4-inch thick pieces. Set aside the larger center slices and coarsely chop the remaining slices, ensuring roughly half are chopped. In a small bowl, mix together sugar and cinnamon.
Preheat your oven to 400°F. Roll out the pastry on a lightly floured surface to form a 12- x 14-inch rectangle, then transfer it to a generously sized baking sheet.
Spread the chopped apples over the pastry, leaving a neat 1-inch border. Drizzle the honey over the chopped apples. Arrange the remaining apple slices in concentric circles or slightly overlapping rows on top. Sprinkle the cinnamon sugar evenly over the apples and dot the concoction with diced butter. Gently fold the pastry's edge up and over the apples to craft a pretty 1-inch border.
Bake the apple galette for approximately 1 hour or until the pastry boasts a delectable golden brown hue, with a satisfying crispness. Allow the galette to cool on a rack before serving, whether warm or at room temperature. Ice cream on the side is so good, but totally optional.
Tasteful Tablescape
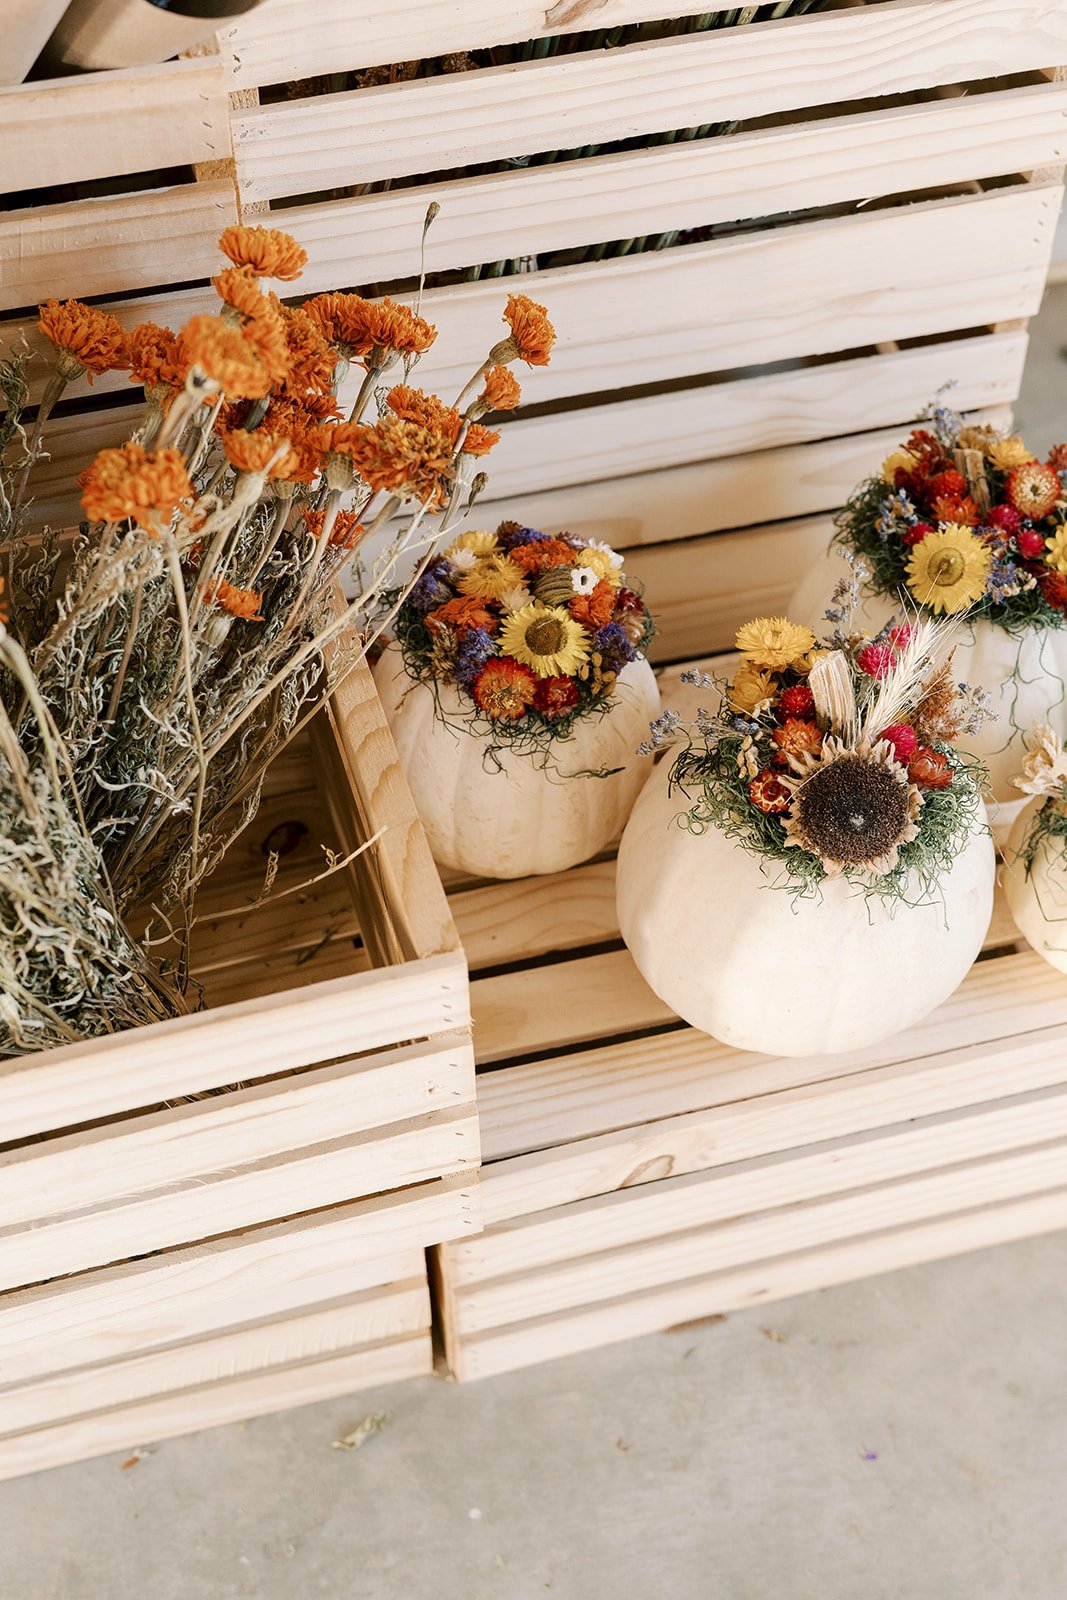
Looking for a quick, but unique centerpiece idea for Thanksgiving? Try decorating pumpkins with dried flowers! These beautiful, bright colors are a fun spin to add something new for your celebration. These beauties will be gracing our table this Thanksgiving, along with new napkins to tie everything together.
To achieve this look, dried flowers are hot glued to the top of the pumpkin. They will last up to a year if the pumpkin isn’t punctured anywhere. We’ll post pics of our table in a couple weeks! Need some inspiration for the best flowers to dry? Read our blog post here, or check out our YouTube video.
Potted Flowering Bulbs
There’s something wonderful about having blooming bulbs in the middle of winter. While everything outside is cold, rainy/snowy, gray and bleh, blooming bulbs such as paperwhite and amaryllis are so lovely to enjoy and bring along the promise of the return of spring.
If you have potted bulbs from year’s past that you’re storing, bring them out, give them a little water and get them going again for the holiday season. If kept in a cool/dry place, they should have enough energy to product blooms again this year.
As the holiday season approaches in 2023, we hope we’ve given you a few ideas for how to decorate your homes with warmth and festive cheer. Gather inspiration, let your imagination run wild, and make this 2023 holiday season truly unforgettable. Happy decorating & hosting for the season!
XX Jenn and Adam
Creating a Spring Bulb Container Garden
Spruce up your space with a captivating spring bulb container garden! Dive into the world of daffodils, including the charming Tete a Tete, and explore the vibrant array of tulips. Embrace the fragrant beauty of hyacinths and the unique charm of muscari. Elevate your creation with decorative willow, finishing touches like sphagnum moss, and more.
Creating a spring bulb container garden is such a simple way to bring some of the beautiful, early spring blooming flowers to enjoy inside while the weather might not be quite that great. Today, we’ll discuss some of the fun bulbs we force each winter in order to hold classes for attendees to make a spring bulb garden of their own.
Our customers love bulb container gardens, because they are perfect for small spaces, or for those who don't have access to a yard. Also, they’re gorgeous to bring inside to enjoy for a few weeks, before you can turn around and plant them out in your yard. It’s the best of both worlds! Enjoying both fresh flowers and the benefit of planting them to enjoy later.
Daffodils are a classic spring flower that are sure to brighten up any container garden. They come in a variety of colors, including yellow, white, and pink. Daffodils are also one of the easiest bulbs to grow, making them a great option for beginners. We especially love a dwarfed daffodil called Tete a Tete. They’re just perfect for small bulb container gardens.
Tulips are another classic spring flower that are sure to add a pop of color to your container garden. They come in a variety of colors, including red, pink, purple, and white. Tulips also come in a variety of shapes, including single-flowered, double-flowered, and fringed. We especially love double daffodils for our spring bulb container gardens, because they typically stay a little bit shorter than some of the other tulips and have a lovely, subtle fragrance.
Hyacinths are another popular spring flower that come in a variety of colors, including pink, purple, and white. They are known for their strong fragrance, which makes them a great option for container gardens that are close to living spaces. You can’t go wrong with any type of hyacinth, but the bulbs are a little bigger in size, so sticking to just a few for your bulb container garden is a good idea, otherwise you’ll run out of room.
Muscari - Muscari, also known as grape hyacinths, are a popular spring bulb that come in shades of blue, purple, and white. They are known for their grape-like clusters of flowers, which make them a unique addition to any container garden. Adam likes to plant these together in clusters of 3 around the bulb container garden for extra ‘sparkle’.
To top off the bulb garden containers, we love to decoratively adorn with different types of willow. We love curly willow and the gray catkins from standard willow are just gorgeous. Put either/or into the container, or combine both together. You really can’t go wrong!
We also encourage guests to add sphagnum moss, large river rock, or small pea gravel to the top of the bulb container garden. This helps provide a little weight to hold the bulbs in the soil and it provides a pretty decorative addition to complete the look for the garden.
There are so many ways to put together a simple, pretty spring bulb garden and lots of options of bulbs to choose from. From classic flowers like daffodils and tulips, to unique options like muscari, there is something for everyone. Remember to choose bulbs that will thrive in your climate and sunlight conditions, and have fun experimenting with different combinations of flowers!
XX Jenn and Adam
Creating a Dried Flower Wall
In 2022, we brought the beauty of dried flowers to life with a mesmerizing Gomphrena wall at PepperHarrow Farm in Central Iowa. Guests marveled at the unique Audray Bicolor Rose variety, capturing attention with its vivid color and distinctive globe blooms. From easy cultivation to efficient harvesting and drying, discover our step-by-step guide to recreate this enchanting installation using cost-effective jute rope. Join us in the world of Gomphrena, and let your creativity bloom! 🌸✨ #DriedFlowers #Gomphrena #FloralInspiration
Dried flowers have increased in popularity over the last several several years and the next few years promise to be no different.
Recognizing the growing trend of dried flowers across the globe, in 2022, we grew several flower varieties simply to set aside to dry in order to create several new dried floral installations on the farm, including a stunning dried flower wall in our new event barn.
The dried flower wall was an instant hit with guests visiting the farm. Guests would use the dried flower wall to take photos for a selfie opportunity, simply were inspired and enjoyed the beauty of it, and often asked and were inspired to attempt to dry flowers on their own. The wall was a conversation starter that grabbed the attention with anyone visiting!
So what flowers did we dry to create this beautiful installation? There are many different types of flowers that we LOVE for drying, which we’ll cover in a different post, but our most favorite flower for drying is Gomphrena (Globe Amaranth). These beautiful flowers are true to name and have little globe blooms on top of long, tall stems. Not only is their color extremely vivid, fresh or dried, but their unique shape and texture makes them a fun, tactile flower to dry. People cannot help themselves from reaching out to touch these beautiful blooms and often remark that they cannot believe they’re real. Fresh or dried, they look the same color either way. Just incredible!
The variety of Gomphrena we chose for our dried flower wall is called Audray Bicolor Rose. This unique shade of pink has a muted tone that isn’t too bright and bold for our muted space. The color looks perfect against our white board and batten wall in our event space. The perfect pop of color!
Growing, Bundling & Drying Gomphrena
In the garden
Growing Gomphrena is pretty easy to grow, starting from seed. It’s one of the easier annuals we grow each year at the farm.
To start, we plant 10 trays of 72 cells of plants, then we plant them out in a 100’ row. We planted this amount to really make the huge visual impact we were looking for with our dried flower wall.
Planting in rows is an efficient way to help plant, manage, maintain, and harvest these flowers for our production purposes.
Harvest
Gomphrena is harvested out of the cut flower garden at the peak of the bloom, meaning that we wait until the bloom has reached a mature stage in the bloom cycle, but not too far gone where it would begin to drop their seed.
Once the Gomphrena is harvested from the garden, we remove all of the foliage from the blooms and make bundles of about 40 stems of these flowers, keeping all of the blooms at the same length. Once they are in the bundle together, we use a stem chopper to cut the bottom of the stems to make them the same length for a clean look. From there, we take a rubber band and put it around the bundle to keep them in place and use a paperclip to hang the bundle from the waxed jute on the wall.
The bundles of Gomphrena take about 2 weeks to dry, but this will be dependent on the temperature of the space you have them drying. It’s important to have good airflow (we ran a fan in front of them), and to keep your flowers out of direct sunlight. The direct sun can fade the color on your flowers quite quickly. Typically the warmer and drier your space is, the quicker your flowers will dry. Cool and moist conditions will take a bit longer to dry your flowers.
How to Make a Dried Flower Wall
The flower wall was started initially with thin metal chain link, but after we finished out two of the rows we were planning on, we ran out, and it was pretty expensive to buy more material. Adam found a great substitute and changed to a nice, light weight jute rope that ended up looking great and worked perfectly. You can find the jute roping here.
We hung the jute rope from screws that we put on either end, the length of the flower wall. The jute was knotted on each screw, pulled taut. As you start hanging the Gomphrena bundles, they will dip down in the middle due to the weight. Pulling taut will make sure that each row doesn’t bow too much.
The flower wall started first with just 3 rows of roping with 40 bundles on each row. Once we started adding the bundles, we ended up adding a 4th row, because of the sheer volume of dried flower bundles we had to work with and because the wall ended up looking a even better with another row of Gomphrena.
From there, we hung the bundles off of the jute with the paperclips, which was a cost effective and easy way to manage the process. For the most part, the paperclip blended into the whole scene and you really couldn’t see it, because of the impact of the entire scene.
We hope we’ve inspired you to try something new next season at your home. Whether that’s simply trying to grow Gomphrena as a new flower in your garden, trying to dry a few flowers to keep and enjoy, or creating your own dried flower wall installation for a little bit larger project!
XX Jenn and Adam
Dahlia Tuber Storage Tips
Dahlias are a rising favorite for flower enthusiasts, and proper tuber storage is key for their annual revival. After the first frost, cut stems, clean, and air-dry tubers. Divide and let them sit for 24 hours before storing in peat moss in a well-ventilated box. Maintain 40-50°F, 80% humidity, and check regularly for pests or rot. By following these steps, ensure your dahlia tubers are primed for a vibrant spring garden display. 🌸✨ #DahliaCare #GardeningTips #SpringBlooms
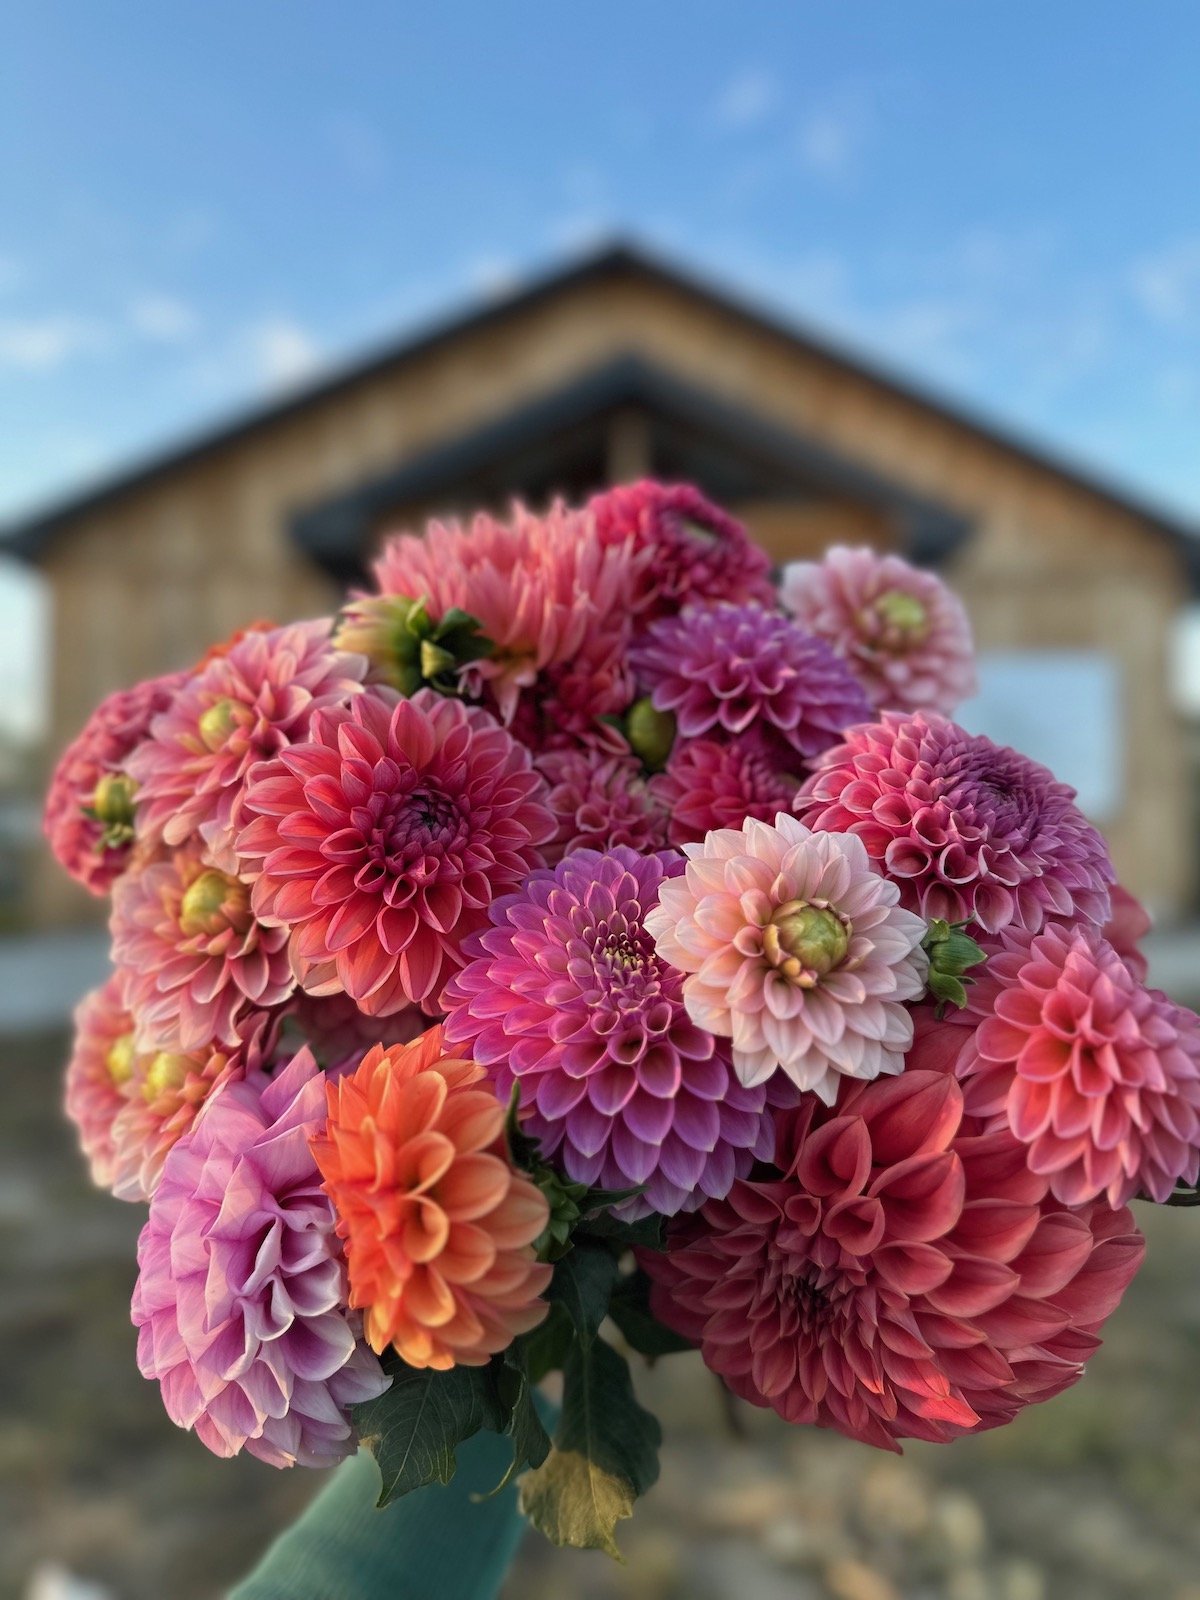
Dahlias are becoming an increasingly popular cut flower for flowers farmers and home gardeners alike. With many different colors, sizes and shapes, it’s easy to see why they’re a fan favorite! Dahlia flowers start from a tuber, which means that they have a swollen underground stem that stores energy for the plant to grow. While dahlias are not winter hardy in growing zones that have temperatures that dip consistently below 32 degrees Fahrenheit, their tubers can be dug up and stored over the winter months to be replanted in the spring. Proper dahlia tuber storage is essential to ensure that the tubers are healthy and ready to grow when the time comes to plant them again the following growing season. Today, we wanted to share some of our tips with y’all. Below are some tips for storing dahlia tubers throughout the winter
DAHLIA STORAGE TIPS
The best time to dig up dahlia tubers is after the first frost, when the plant has died back and the foliage has turned yellow. This usually occurs in mid October or early November.
Cut off the stems/greenery: Cut off the stems of the plants about 6 inches above the tubers, leaving a small stem attached to each tuber.
Clean and dry the tubers: Before storing the tubers, gently brush off any excess dirt, wash and allow them to air dry for a couple days in a well-ventilated area.
Once dry, divide dahlias and let sit out for another 24 hours.
Storage: Place tubers into peat moss as a storage medium in a ventilated box. We use bulb crates with craft paper liner on the bottom. A temperature of around 40-50°F is ideal, with the humidity kept around 80%, and plenty of airflow (we keep a fan running).
Protect from pests: It is important to check the tubers regularly for any signs of pests or rot. If you notice any issues, remove the affected tubers and dispose of them to prevent the problem from spreading. Common pests we see are roly-poly bugs. They will make a little village and eat your tubers. If you find them, take the entire crate out and rewash the tubers.
Check your tubers daily to make sure the temperature is within the range noted above, the humidity levels are correct and pull a few out to take a look at them from the peat moss (placing them back into and well under the peat moss aftterwards).
By following these simple steps, you can ensure that your dahlia tubers are properly stored and ready to be replanted in the spring. With a little bit of care and attention, you can enjoy these beautiful flowers in your garden for years to come.
XX Jenn and Adam


