
Creating a Gorgeous Raised Bed Garden
Explore the simplicity and beauty of raised bed gardens with our guide. Perfect for any gardener, these beds offer controlled environments and easy maintenance. Learn the benefits, design tips, and step-by-step instructions to create your flourishing garden. Elevate your outdoor space with joy and ease. Happy growing!
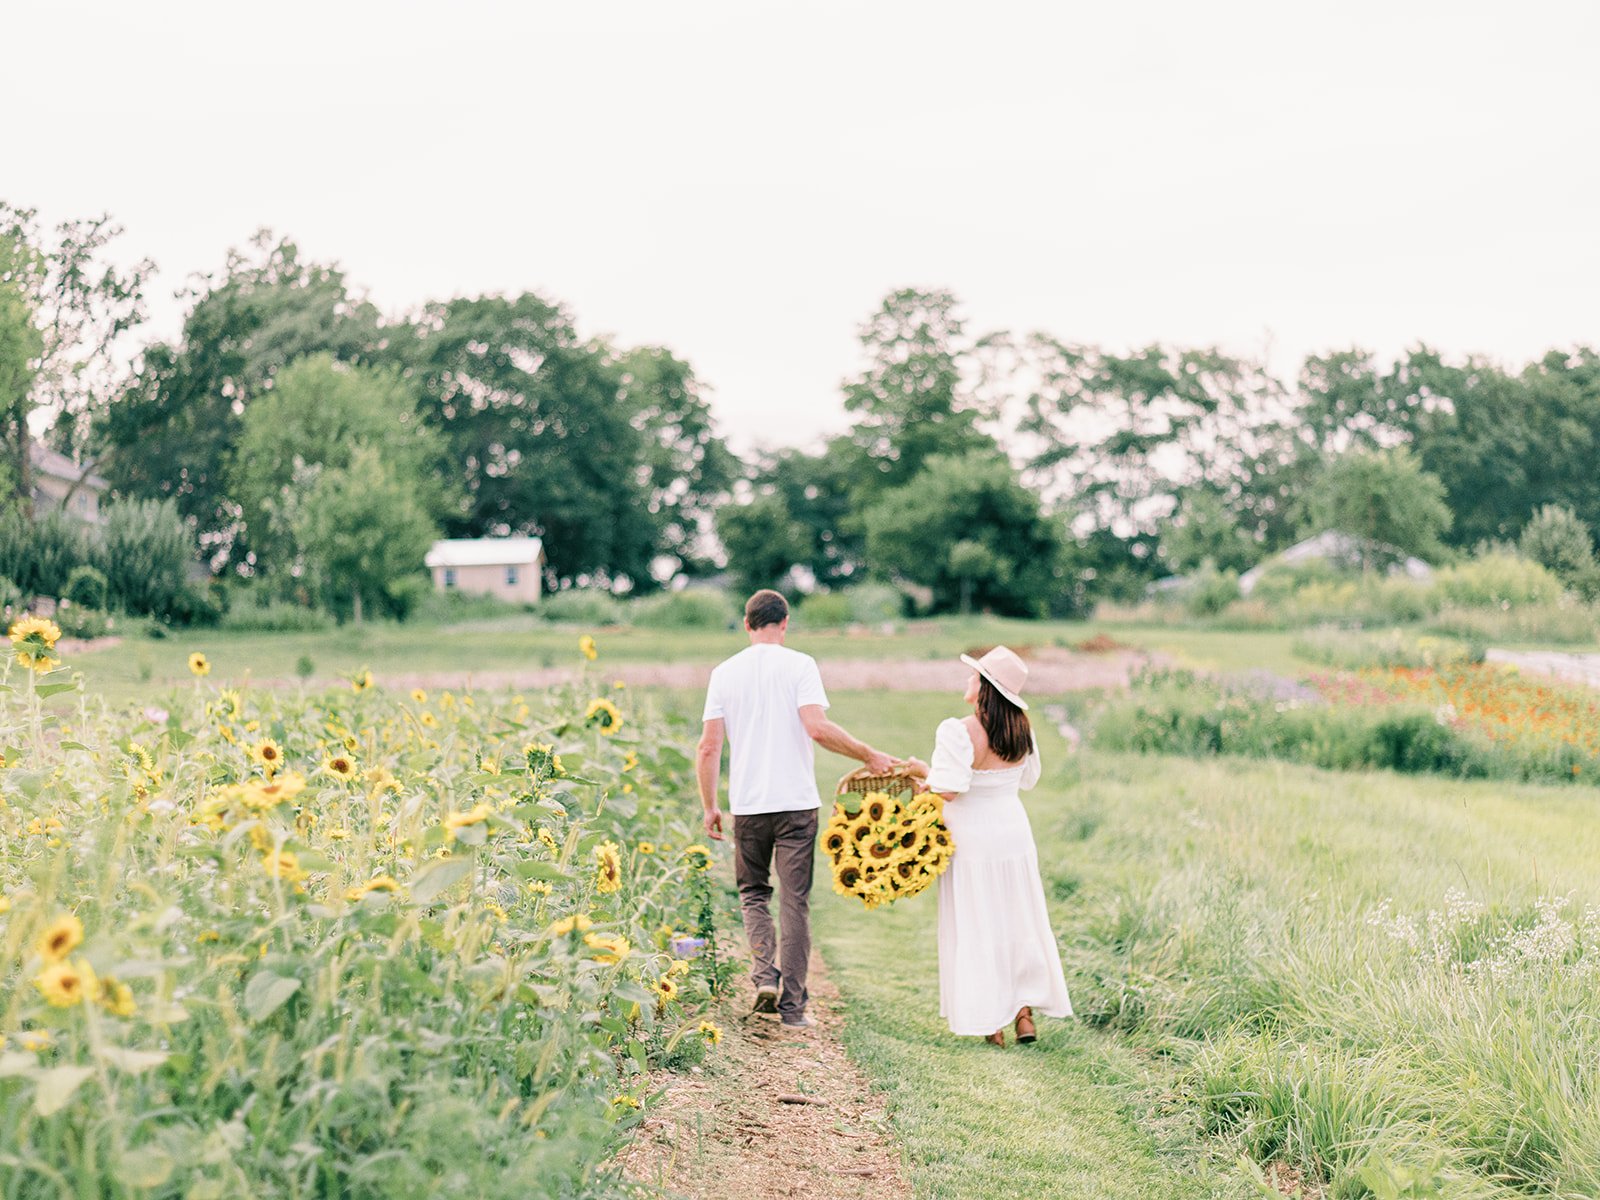
If you're looking to add a touch of beauty and functionality to your outdoor space, raised beds could be the perfect solution. Whether you're limited on space or just starting out on your flower-growing journey, raised beds offer a fantastic way to cultivate a thriving garden right at your doorstep. At PepperHarrow, we've embraced raised beds as a key part of our dahlia breeding efforts, and as an integral space for relaxing and entertaining. Today, we're going to guide you through the process of creating your very own raised bed garden.
Why Raised Beds? Raised beds offer a range of benefits and hey, let’s not overlook their beauty, making them an excellent choice for both beginners and seasoned gardeners. They're particularly useful when your soil isn't ideal for flower growth, providing you with a controlled and enriched growing environment. Additionally, these beds are easier to maintain compared to open-field plantings. Weeding and tending to your plants become less of a chore, and watering is more convenient since raised beds are often closer to water sources. Keep in mind that raised beds require more frequent watering than plants in the ground.

Designing Your Garden
Before you roll up your sleeves to get to work, take the time to draw out and design your raised bed garden. Sketch out a plan on paper to plan out a space that works for you, allocating enough space between each bed to allow for 3-foot-wide paths. Staking out the corners of your garden area with wood and tying strings between the stakes can help you frame the space accurately and ensure its level.
Here are the Materials Required for the Beds We Created for our Eight 4-by-8-foot raised beds in a 30-by-40-foot area, gather the following materials for each raised bed:
(3) 2-x-12-x-8 treated lumber
(1) 4-x-4-x-4-inch treated lumber
(4) 6-x-6-inch steel corner braces
Additional Supplies:
200 feet of 6-foot or wider landscape fabric for weed barrier
100 Landscape pins to secure the fabric
160 3-inch exterior screws
48 2-cubic-foot bags of wood chips
160 1-cubic-foot bags of topsoil
500 pounds of chipped limestone road stone
Drip irrigation or overhead watering apparatus
Optional decorative arches for growing vines
Seeds of your choice!

Step-by-Step Guide for Building a Raised Garden:
Step One: Preparing the Ground
Draw your raised bed plan on paper, considering the layout and spacing.
Stake each corner of your designated area using wood and tie strings between the stakes to outline your space and ensure it's level.
Lay down landscape fabric as a weed barrier.
Step Two: Creating the Base
Spread gravel evenly across the entire area using a landscaping rake.
Prepare the lumber, using 8-foot boards for the sides and cutting an 8-foot board in half to form two 4-foot ends.
Step Three: Assembling the Bed
Use your drill and screws to secure the lumber at the corners, utilizing the 4-x-4-inch lumber as braces.
Step Four: Adding Growing Medium
Lay six bags of wood chips in the bottom half of each raised bed, smoothing them out with the landscaping rake.
Finish by adding 20 bags of topsoil to fill the beds to the top. Keep in mind that the soil will settle over time, so you may need to add more before planting.

Sparkle Details =Dream Space
The last step is to add pieces that make your raised bed garden sparkle. Items like arches for growing vines, bistro lights, table and chairs are great things to add to really make the space inviting. All of this you can use for hosting guests, or for your own personal enjoyment.
By following these steps and using the materials mentioned above, you'll be well on your way to creating a beautiful and functional raised bed garden, just like the ones at our flower farm! As you tend to your flowers and watch them thrive, you'll appreciate the benefits of raised beds, from improved growing conditions to easier maintenance.
Whether you're an aspiring gardener, dahlia breeder or simply passionate about cultivating a beautiful flower garden, raised beds provide an excellent foundation for your gardening endeavors.
Happy growing!
XX Jenn and Adam
New Dahlia Varieties We're Growing at PepperHarrow in 2022: Round 1
f you've been following our flower farming journey, you know our dahlia collection has grown into a vibrant array of varieties. Good news – they'll soon be available for purchase! Here's a sneak peek at some standout new dahlias, from the blush tones of Bloomquist Compare to the bi-color beauty of Aitara Diadem. Stay tuned for more as they blossom in our garden! 🌸 #Dahlias #FlowerFarming #NewVarieties
If y’all have been following along with our flower farming journey thus far, you know we’ve grown our selection of dahlias into a collection of really great varieties and have are known as some of the best dahlia growers in the us. This wasn’t intentional, but more the product of being a 100% plant addict and dahlia lover. Self control goes out the window when I see a gorgeous new dahlia variety I need to get my hands on. BUT it all works out in the end, because it means that all of our new varieties will be available for purchase to all of YOU!
We’ll be offering our dahlia varieties online coming soon, first to our Big Dreams Family on Patreon, which can be accessed here if you haven’t already. General availability for dahlia tubers for the public will go online on 1/1/23.
Here’s a look at some of our first round of our BEST new dahlia varieties we’re growing! We’ll share more soon, because they’re all starting to show off out in the garden!
XX Jenn
Bloomquist
Compare
A beautiful new addition to our collection from Triple Wren Farms. It serves as a nice blush color for weddings and local florists. It grows about 5’ tall and has nice long, tall, sturdy stems for bouquets.
Observations: A prolific bloomer, perfect for specialty cut flower growers. Susceptible to powdery mildew.

KAs Mocha Jo
Who are we kidding?! We love ALL of the KAs varieties, but especially this one. It’s the ‘blendy pen’ of the dahlia world and because of this, it’s is a great dahlia to use for design work, because it bridges many colors.
Observations: Small, bushy growth habit. Doesn’t appear to produce a ton of tubers

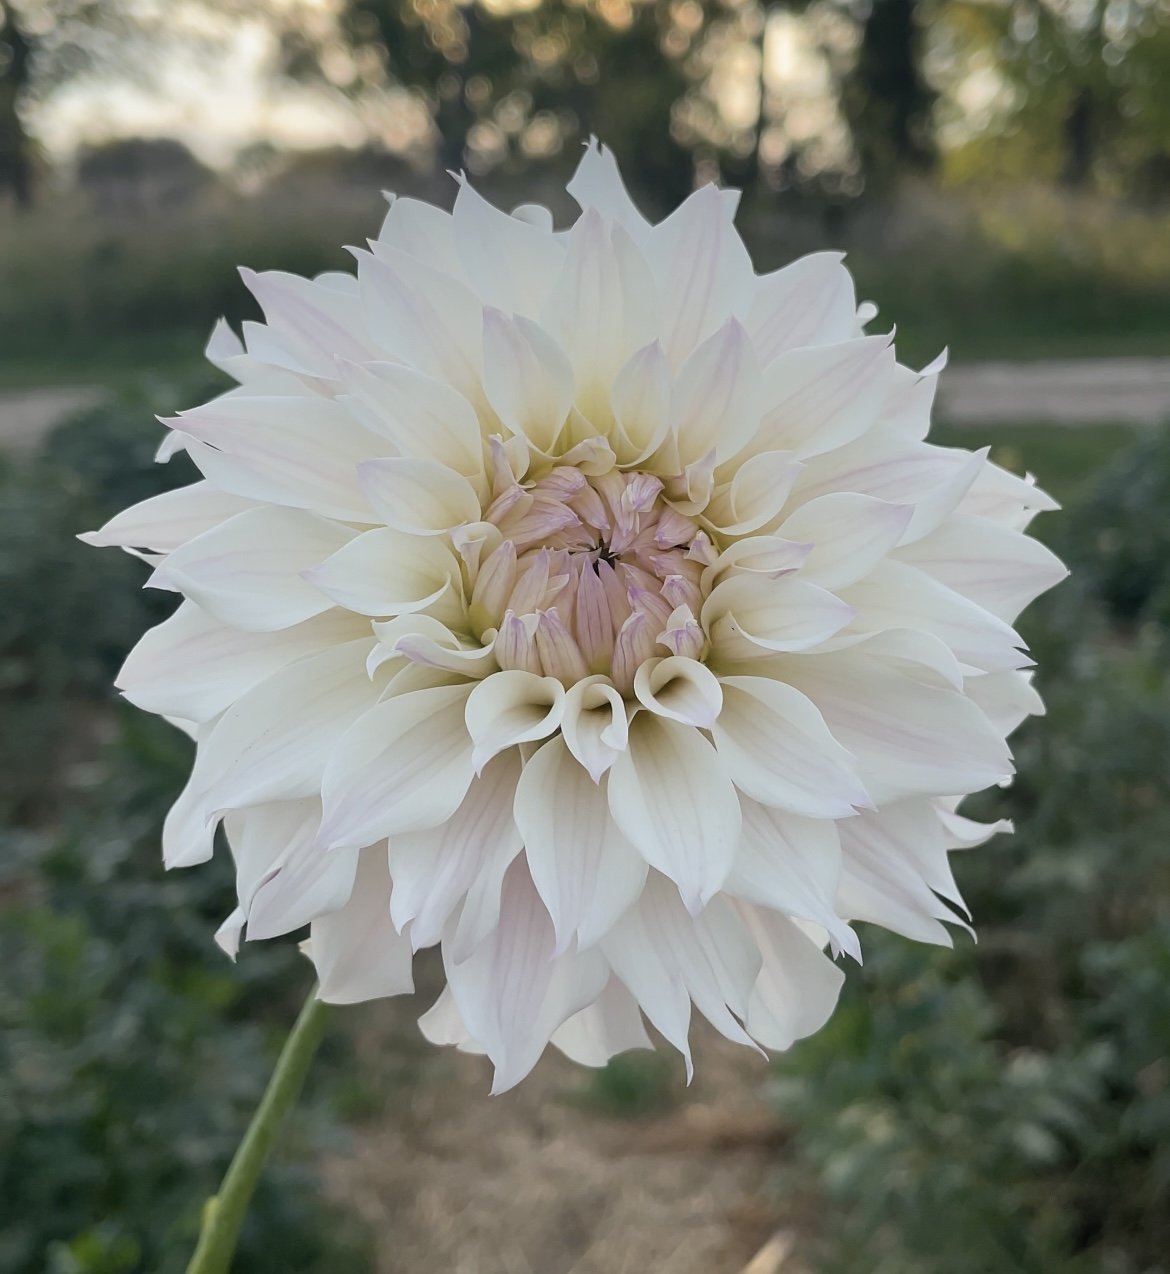
Irish Ruffles
Never have we grown such a beautiful white dahlia. It has a large bloom with petals that look soft and fluffy, giving this beauty its name. It’s definitely a favorite of ours.
Observations: Needs to be staked due to the heavy bloom and tall stems the plant produces. Not a prolific tuber producer.

Aitara Diadem
Wow! I’m usually not really a fan of bi-color dahlias, but this bloom has stood out as one of the best in the garden. The 6’ blooms are some of the first to be cut to include in bouquets, because they’re so remarkable.
Observations: Tall, bushy growth habit with large leaves. Very healthy, vigorous plant.

KAs Bella Luna
Sourced from StoneHouse Dahlias as a rooted cutting and wow, has it exploded with growth. The bloom starts off as white and finishes with an unexpected burst of blush in the center. Just gorgeous!
Observations: Hardy, vigorous growing plant and blooms. 4’ tall with nice sturdy stems.

Quiet Splendor
This bloom was totally unassuming until it really started to open and I was struck by the blush variegation in the leaves. Must day, it’s a keeper! It’s taken lack of rain and terribly hot conditions and has thrived.
Observations: Tall, workable stems perfect as a specialty cut flower.

Normandie Wedding Day
Who doesn’t love dahlia cultivars from the UK? The unique, blush bloom on this beauty is just incredible. We’re not known for growing cactus varieties, which this one is, but this one was too pretty NOT to grow.
Observations: Prone to powdery mildew. Tall, sturdy stems.

Clearview Jennae
Wine or magenta? Either way, we’re obsessed with this gorgeous, prolific dahlia and will be adding more to our growing stock.
Observations: Incredible, tall growth habit, 5’ tall. Strong, sturdy stems perfect for specialty cut flowers.

Best Care Tips for Fresh Flowers
Discover our best tips for extending the vase life of your fresh cut flower bouquet. Whether you purchased flowers in water or transported a wrapped bouquet, these care tips will keep your blooms vibrant. From preparing your vase with a sugar and bleach mixture to removing foliage and trimming stems, follow our advice for beautiful, long-lasting fresh flowers. Change the water every two days, re-trim the stems, and enjoy your flowers for an extended period—typically lasting between 7-10 days.

Best Care Tips for Fresh Flowers
After a successful weekend at farmer’s market, design classes and hosting a Bloom Bar at our flower farm, there was one question from everyone that kept coming up: What’s the best way to keep our flowers looking fresh?
After 11 years of growing and selling cut flowers locally, we have some great tips to share to help extend the vase life on your fresh cut flower bouquet and we’re going to share those with y’all!
The first thing to consider is: did you purchase your flowers already in water, or was it a wrapped bouquet that you transported home out of water?
If you purchased flowers already in water, it’s okay to not fuss too much with them when you first get them home. The key will be to maintenance them each day afterwards, which we’ll discuss below.
On the other hand, if your bouquet was purchased and you had it out of water to transport home, such as a wrapped bouquet, before you place it in your water you’ll want to trim the bottom of your stems before putting it into your vase of water.
Prepare Vase
Anytime you remove your flower stems from the water, pockets of air get into the stems. To remove the little air pockets, you’ll just want to trim a small amount from the bottom of the stems before adding your flowers into your vase of water.
Make sure your vase has been washed out thoroughly with soap and water before you use it for your fresh flowers. Keeping all of your supplies clean for your fresh flowers will go a long way to helping your fresh flowers stay beautiful longer. This includes the floral snips, or scissors you use to snip your stems.

Add Sugar & Bleach
Add 1 tsp of sugar and 1 tsp of bleach to your clean water
We’ve found that the sugar & bleach mixture works well in helping extend vase life for fresh blooms. The sugar gives your flowers something to eat and the bleach keeps the water clean. The perfect combination for fresh flowers!
The amount of each of these will vary depending on the size of the vase you use. Shown here is a 32 oz vase, hence the 1:1 ratio for the tsp. If you use half this size of vase, cut this amount in half.

Remove Foliage
Remove any leaves/foliage from the bottom of the stems - any foliage that will touch the water.
Removing foliage from the bottom of your stems, anything that will touch the water, will make sure your flowers stay beautifully for days. If any foliage gets into the water, it will start to break down and cause rot and bacteria. This makes the water ‘dirty’ and will shorten the vase life for your fresh flowers.
Taking a small amount of extra time to remove all foliage that will touch the water, before you place your fresh flowers into your vase of water, will ensure success in extending the vase life for your fresh blooms.

Trim Stems
Anytime you remove your flower stems from the water, pockets of air get into the stems. To remove the little air pockets, you’ll just want to trim a small amount from the bottom of the stems before adding your flowers into your vase of water.
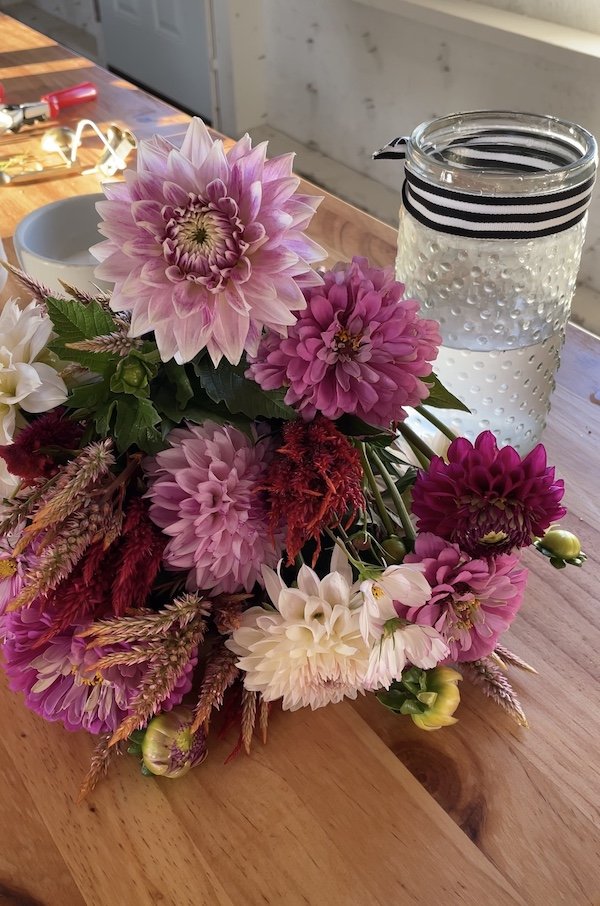
After following all of the above steps, finish up by placing your fresh flowers in your vase.
Be sure to change the water every two days, following the above directions, especially re-trimming the bottom of the stems before you place them back into the water.
Vase life for your fresh flowers can vary depending on the type of flower in the bouquet; however, you can typically expect your fresh flowers to last between 7-10 days.